Category Archives: Entertaining

Easter Watercolor Name Cards – Free

IMG_7894

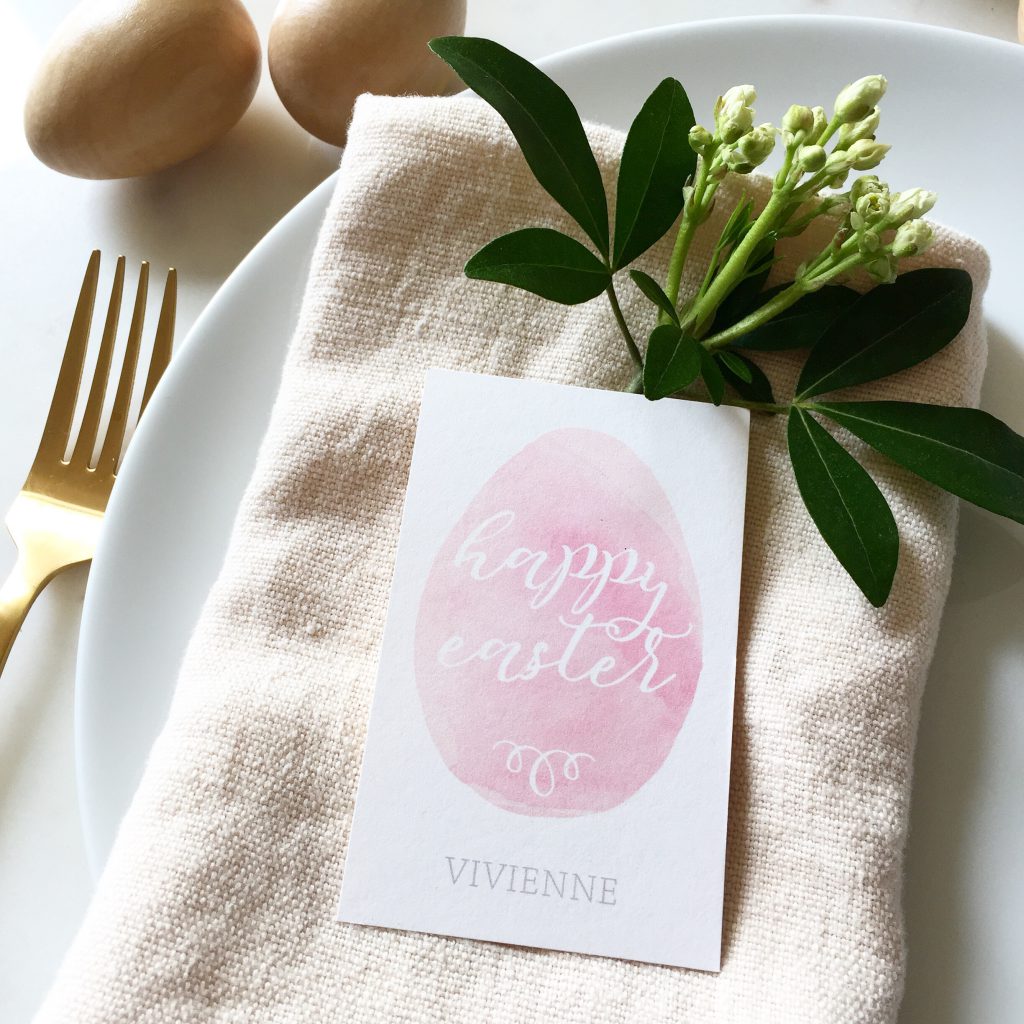
Oh man have I been lacking creativity and motivation lately. I don’t know what it is, but I’m hoping I get out of my slump soon. I’ve been meaning for over a month to post about my daughter’s unicorn birthday party details (check my Etsy shop for the super cute invitation). I’ll get to it soon I promise! But in the mean time, I’ve come up with another free printable for you all. Easter is just days away…really not sure how or when that happened…and I am hosting this year and I always think it’s fun to come up with a new name card design for the table.

I don’t know about you, but this watercolor trend isn’t getting old for me and I especially love it during the spring time. And how pretty are watercolored eggs?! Click here for the free download and just write in the names of your guests at the top…a gold sharpie perhaps?! Enjoy the season everyone! Xo, Jessica

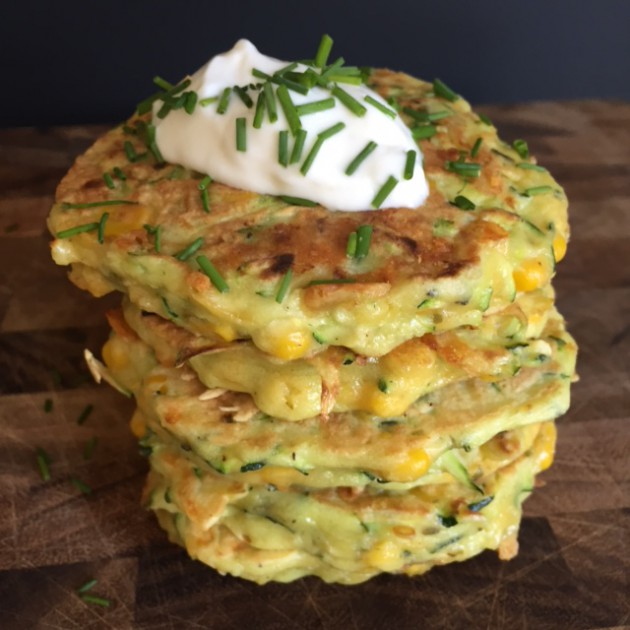
Easy Zucchini Corn Pancake Recipe

IMG_4643

So I’m in serious need of some good ol’ comfort food and I’m sorry, but I just can’t wait until the fall for it to be “acceptable” again to indulge myself in mashed potatoes, mac n cheese, mashed potatoes…I mentioned that one already didn’t I? That said, this is a comfort food disguised in a spring package! They are easy, flavorful, seasonal and down-right comforting. In fact I am eating some right now 🙂 Perfect for a quick throw together dinner or even make mini ones for an appetizer for a ladies night in.

Recipe adapted from King Arthur


Ingredients:

5 large eggs, beaten
1/4 cup olive oil
2 tsp salt
1/2 tsp ground pepper
1 tsp dried oregano
3 cups grated zucchini (about one large zucchini)
1 cup fresh sweet corn off the cob or frozen corn
1 cup shredded cheddar cheese (or your favorite cheese)
1 cup unbleached all-purpose flour

Directions:

In a large bowl, combine eggs, oil, salt, pepper and dried herbs. Whisk to combine.
Add the zucchini, corn and cheddar cheese and stir thoroughly with a spatula.
Add the flour and stir until thoroughly combined and there are no pockets of dry flour hiding in the batter.
Heat a large cast-iron skillet or griddle to medium-high heat, adding a very small amount of oil to the skillet/griddle. I used cooking spray to make it easy. Using an ice cream scoop, scoop 1/4-cupfuls of batter onto the skillet and flatten with the back of the scoop into a circle about 4 inches in diameter. Cook on each side about 3-4 minutes, or until a deep golden brown. Remove from skillet and transfer to a plate. Repeat with remaining batter. Serve warm with your favorite toppings.

Spring Cocktail with Rhubarb Simple Syrup

IMG_4577Last year, I made plum simple syrup from our plum tree and it was absolutely delicious paired with vodka and soda. It’s still too early for plum season, but our rhubarb is coming up like gangbusters. And there are only so many things you can make with rhubarb that my family will eat. I personally would eat it any ol’ way, but my husband and kiddos are more particular and have their quota of baked goods and jam.

For an adult only treat, I was curious what a rhubarb simple syrup would turn out like. I followed my basic recipe and added a few cups of chopped rhubarb during heating. I then strained the juice through a mesh strainer and kept the remaining cooked fruit. After my experiment two things were a happy surprise. 1. the simple syrup makes for a yummy, refreshing and beautiful vodka soda cocktail. 2. The remaining cooked and strained rhubarb is perfectly sweetened and makes for delicious rhubarb sauce! Served it warm over vanilla ice cream for dessert.

Here is the recipe for you all – super easy and quick!

Rhubarb Simple Syrup

Ingredients

1 cup white sugar

1 cup water

2 cups 1/2″ diced rhubarb stocks

Directions

  1. In a medium saucepan combine sugar, water and rhubarb. Bring to a boil, stirring, until sugar has dissolved. Strain juice through a mesh strainer in to large mason jars or any sealable container. Keep the fruit for a delicious sauce! Allow to cool.

For the Cocktail

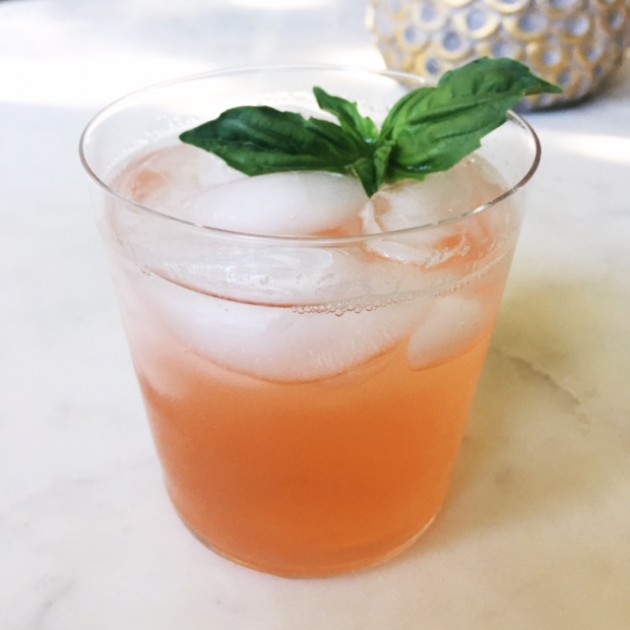
In 8 – 12 oz glass filled halfway with ice, add 1.5 oz vodka of choice, club soda until 2/3 full, then finish it off with the simple syrup to taste.

Cocoa and Cookies Birthday Party

IMG_4075

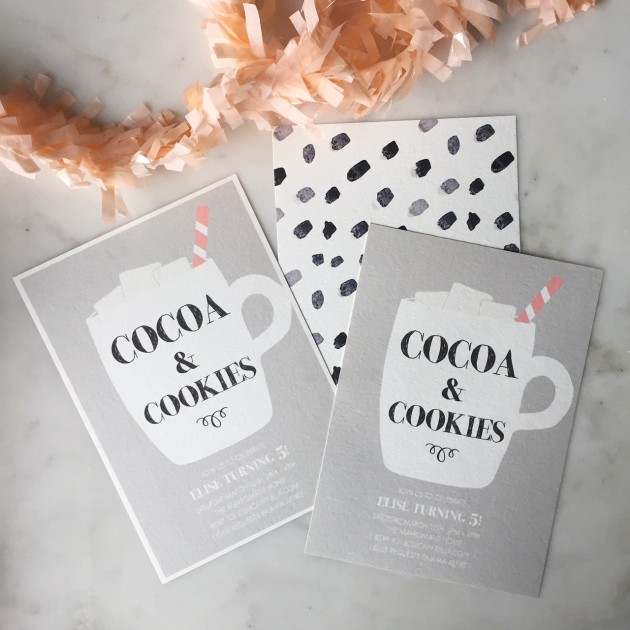
I’m over the birthday party hump with both of my girl’s birthdays under wrapped – phew! My five year old was stuck on having hot cocoa, pajamas and a puppy movie for her birthday party so I tried to tie it together with a Cocoa and Cookies theme (…and where your PJ’s!). I kind of phoned this one home this year with everything we’ve had going on these last few months, but she seemed pleased with her party and the little touches I did do, I think turned out pretty cute. Here are a few pictures of her party.

I was indecisive about having a white border or not on the invitation (see above) and in the end I went with no border. I added a coral colored straw because I’m well aware that cocoa and cookies for a birthday theme in March is not exactly seasonal 😉 and in the end I went with no border.

IMG_4196

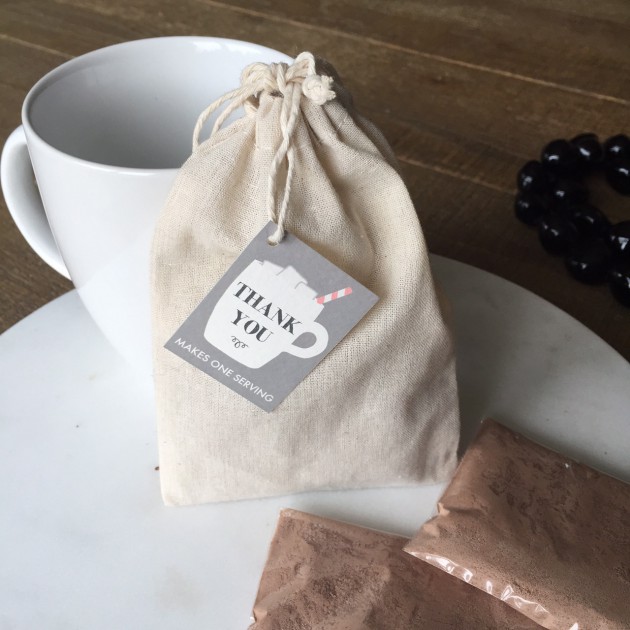
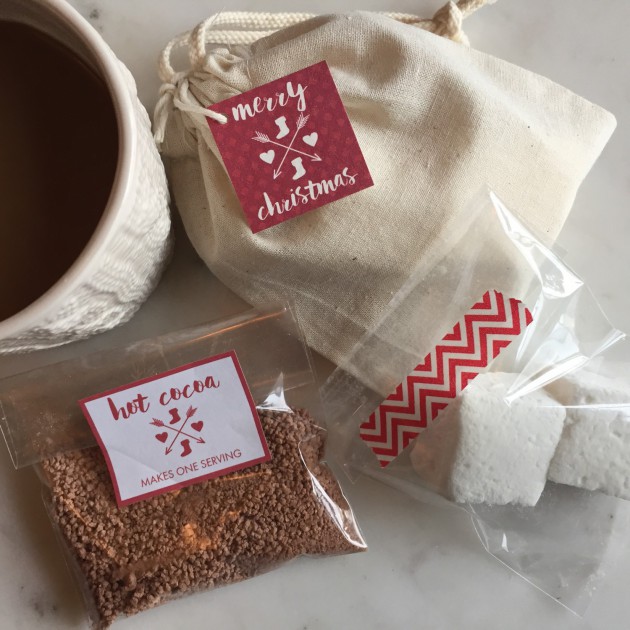
I designed little thank you tags for the homemade hot cocoa and cookies the kiddos took home. Simple and certainly inexpensive. Yahoo!

IMG_4117

This number 5 balloon was from her actual birthday the week before, but it survived a week and a half later…barely!

IMG_4236

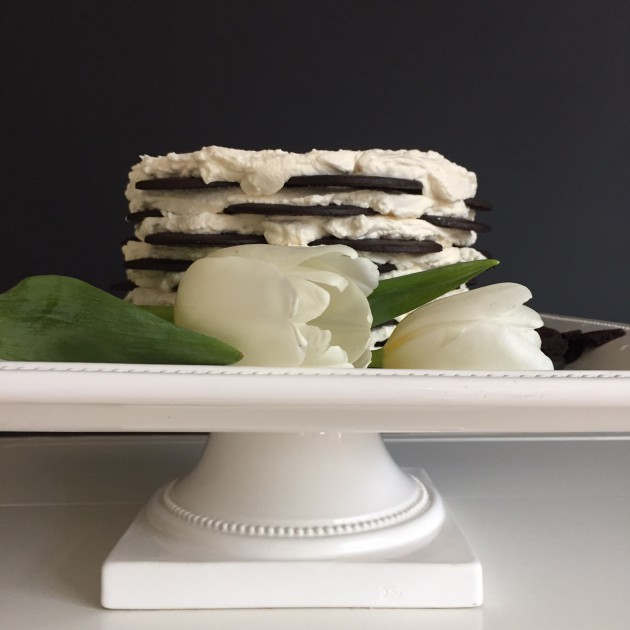
My attempt at a icebox cookie cake. It didn’t turn out exactly like my #magnoliabakery inspiration cake, but it was a worthy effort 😉 Cake decorating is certainly not my forte!! But it was delicious!

IMG_4207

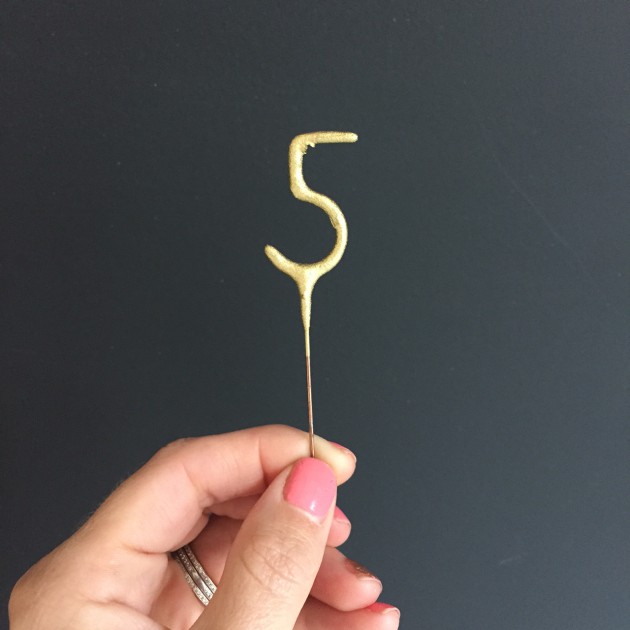
I’ve fallen in love with these adorable sparkler candles and it adds a fun surprise to the cake!

IMG_4243

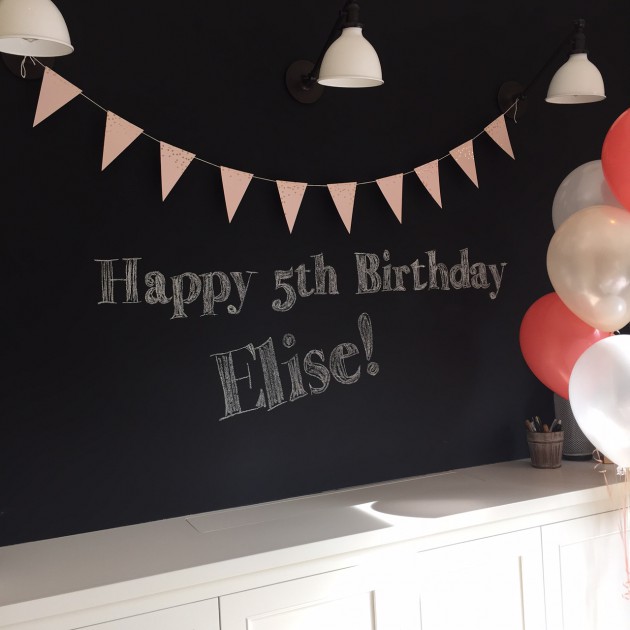
Finally making use of our chalkboard wall we have! My husband does a great job at projecting the text from his mini projector and then tracing the text so it turns out level and in the font I want.

IMG_4209

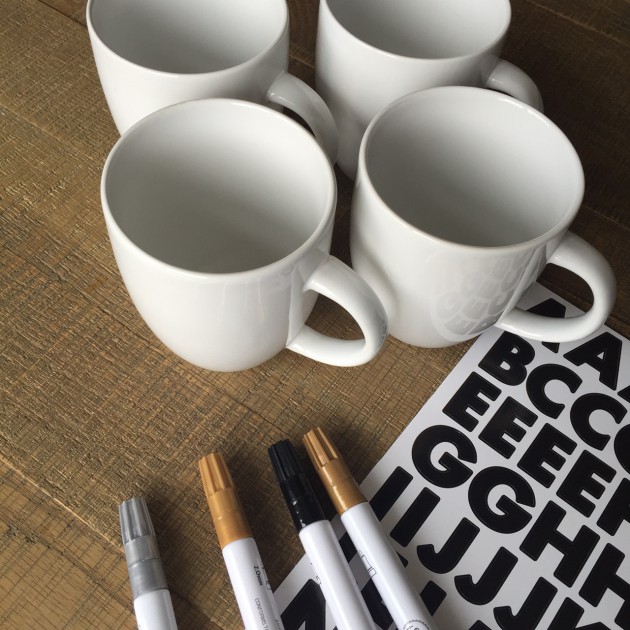
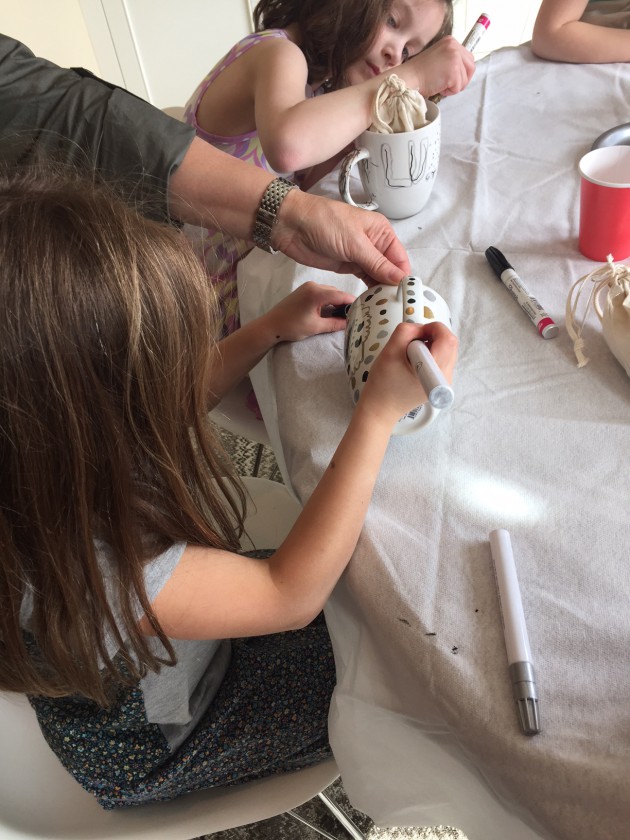
The kids got to decorate their own mugs with a monogrammed letter and take them home with them along with their hot cocoa and cookies goodie bag.

IMG_4247

The two older girls hard at work on their mugs. I wish I got more pictures of the table before it got all messy, but the sun was shining in so brightly that it was hard to see beyond all of the shadows. Oh, and lastly, the kids dropped marshmallows from a chair in a mason jar. They all said how simple it would be, but it was harder than it looked and they all had to eat their words!

Pajama and Pancake Birthday Party

IMG_3979It’s been a few weeks since my daughter had her birthday, but shortly after we dashed off to Hawaii (can’t complain!!!) and now we are back to the daily grind of life. I’ve been anxious to post about Vivienne’s birthday party. I thought it turned out so cute, but I must apologize for some of my pictures. I am by no means a professional photographer nor do we feel it necessary to hire one for a kids party. Every thing we do, we do it ourselves…except for the cake. I’ve learned my DIY limits and cake decorating is not my thing 😉

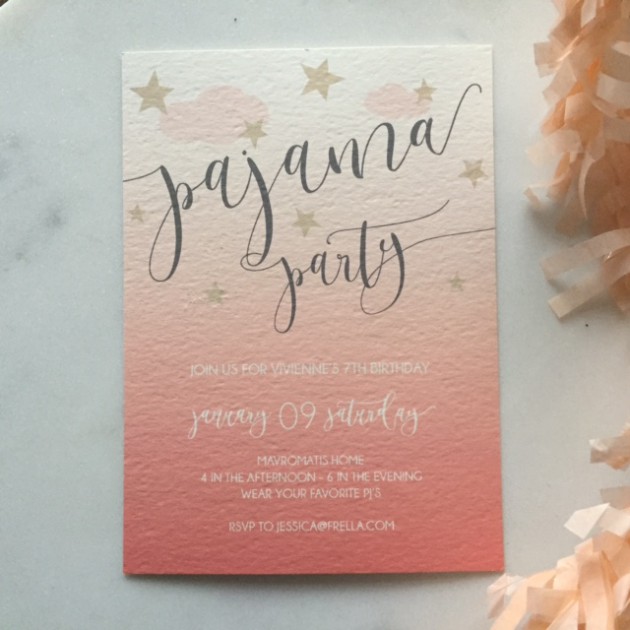
After a year long conversation of Viv telling me she wanted a pirate party, a few weeks before I needed to send out the invites, she threw me a curve ball and said she wanted a slumber party? “A wha, wha?!!” I said. Me not being ready to host a sleep over with a bunch of six and seven year olds, seeing disaster in the making, years off my life and no sleep, I gently suggested a pajama party instead with breakfast for dinner (who doesn’t love that?!). She was sold! Amen to that! So I had a few weeks to rethink party ideas and come up with a game plan and here you will see the results with corals, peaches and golds as the main theme.
IMG_3817

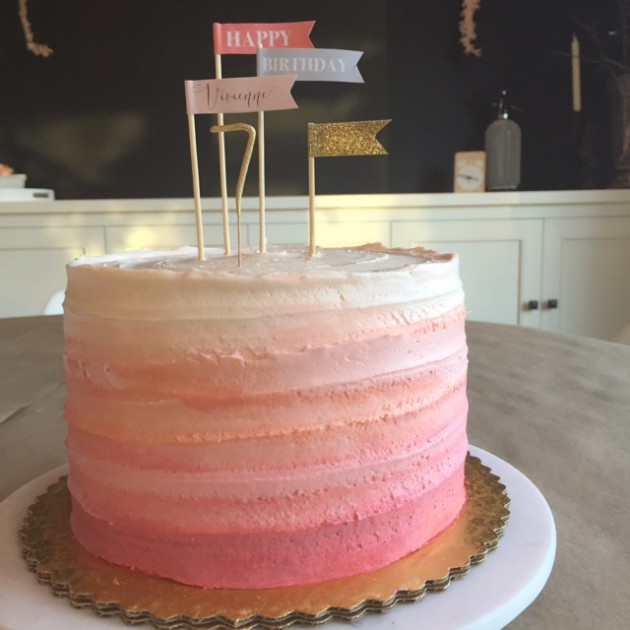
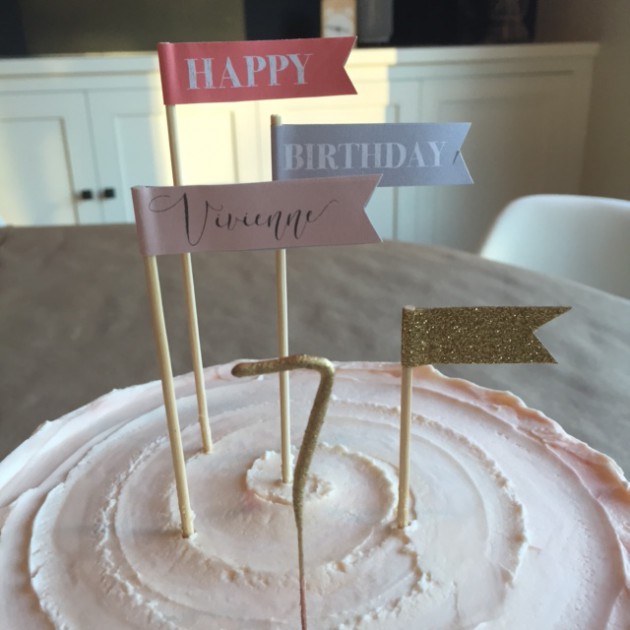
IMG_3810To keep with the ombre theme of the invitation, I had our local store do an ombre cake which I thought they did a fantastic job and much better than I could have ever attempted. Then I topped it with some sticker flags and gold washi tape I whipped up along with a #7 sparkler candle.
IMG_3848

IMG_3781

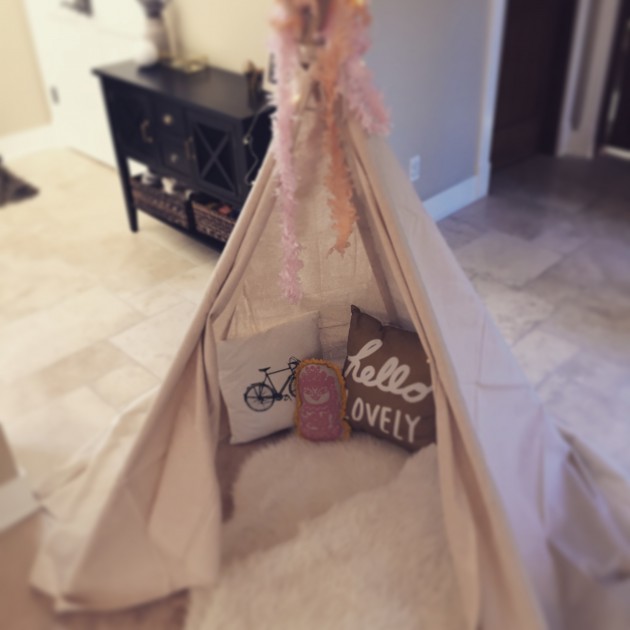
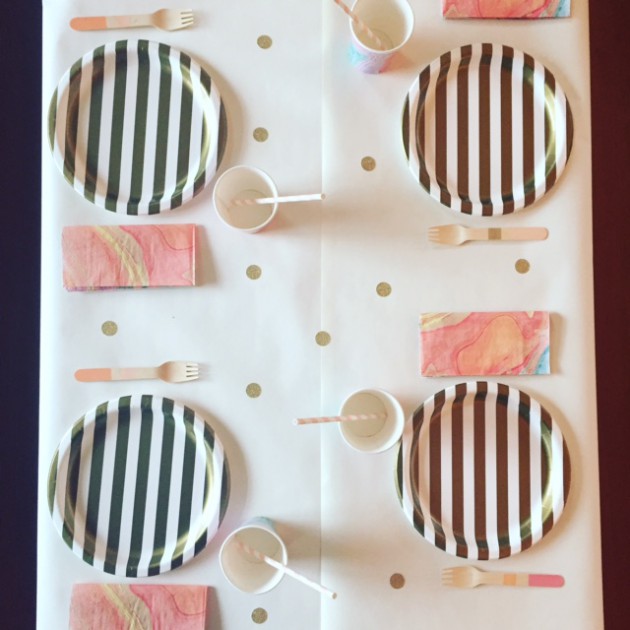
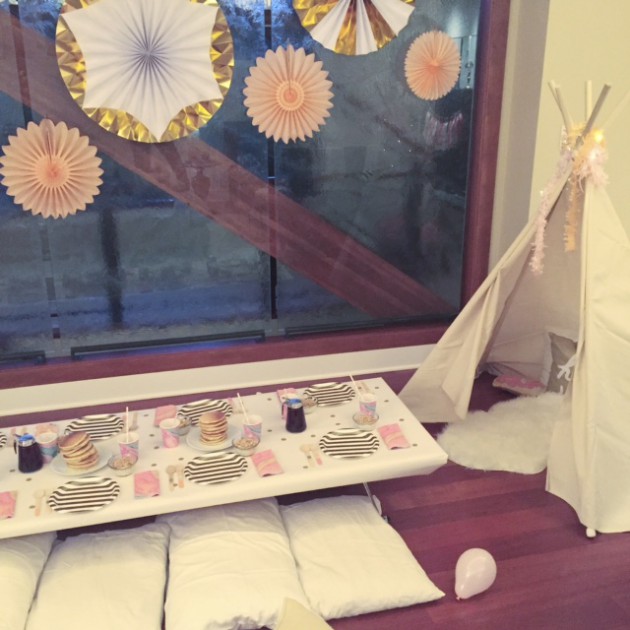
IMG_3777To set the scene and create an intimate, cozy atmosphere, I used a low table covered with white kraft paper and gold sparkle stickers. The kids sat on pillows and ate pancakes, fruit and yogurt parfaits…talk about sugar overload!! On either sides of the table, I had a teepee with faux sheep skin (#ikea) rugs and pillows inside. I already had one teepee I had made years ago, but I wanted one more without the effort of cutting and sewing. So with a little Google help, I saw some no-sew ideas and came up with my own take. Talk about easy!! Just using some 6′ wood dowels, a painters drop cloth and a few pushpins and you are good to go!! I also topped the teepees with some tissue garland and what I call “fairy lights” I had picked up a while ago from the #target dollar bin. That place can be a gold mine if you check regularly. Finally, we have a glass panel wall that I used to hang some gold and peach pin wheels as a back drop. Super cute!! 
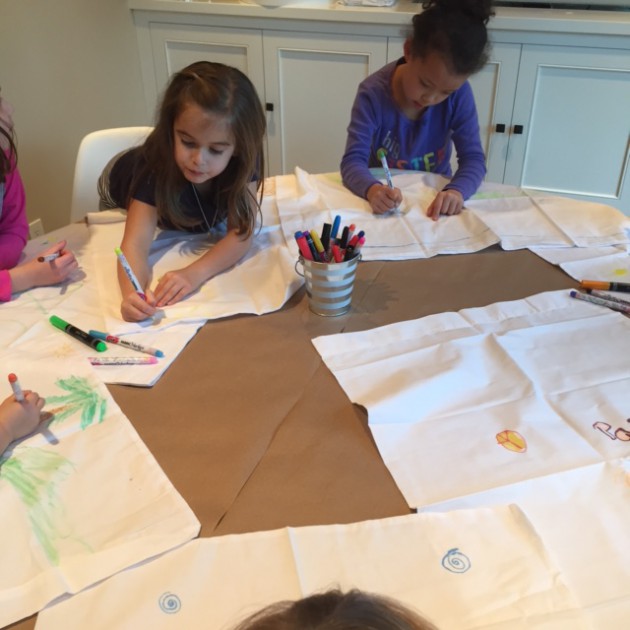
IMG_3819For activities we had a donut from a string eating contest (that was a big hit!!) and then the kiddos decorated their own pillow cases with fabric markers. It kept them busy for quite a while and it was fun to see what they came up with.
IMG_3784

IMG_3783

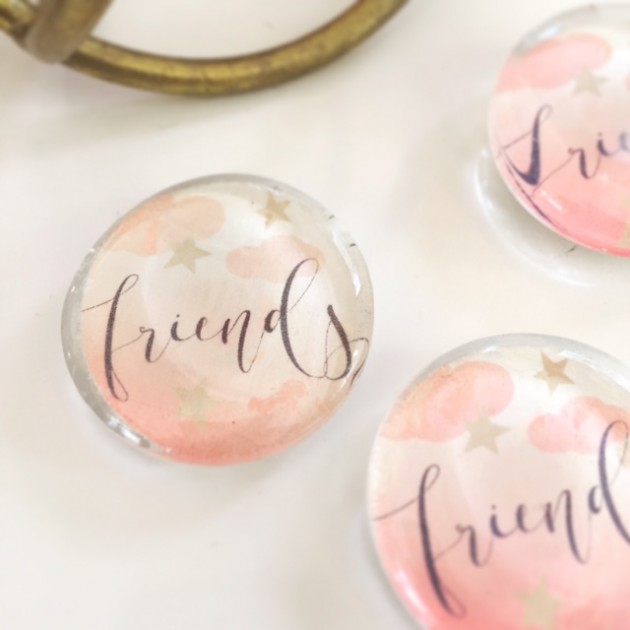
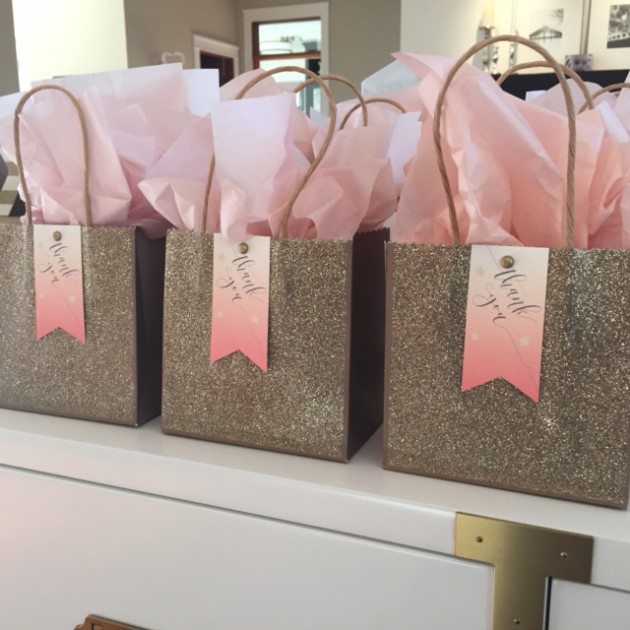
Finally, for the favors, I found these sparkly gold bags from (again) the Target dollar bin that I dolled up with some Thank You tags and filled them each with a peach colored bracelet, some donut shaped soap from Etsy, and these glass magnets I made that coordinated with the invitation. Over all I think all the kiddos had fun and who doesn’t like hanging out in your jammies?! To take one for the team, I even wore mine and I have to say, it’s the most comfortable I’ve ever been at a party 😉

*Most of the party supplies were from Shop Sweet Lulu and Target

**If you have any questions about how I created or styled some of the party items, I am happy to answer!
Soup Craze! Butternut Squash…Tomato…What’s Next Week?

IMG_3541I just finished up an evening with long time girlfriends. It’s our second annual gathering to wrap presents for an adopted family and I have to say, it’s something that I am so thankful we started last year and hope we continue for many years to come. I’m also wondering why we didn’t start it sooner?! Thank you Kelsey for kick starting us! It’s the least we can do for those in need, especially when we all pool our resources together and buy gifts for a family that needs a little extra help over the holidays.

Not only does it feel good to wrap presents for others, but it’s a great excuse for us to all gather together when our lives are so busy with our own families and children and activities. We get to chat, drink wine, and nibble while we wrap the gifts. I wish we could do this more often, but I will take what I can get!

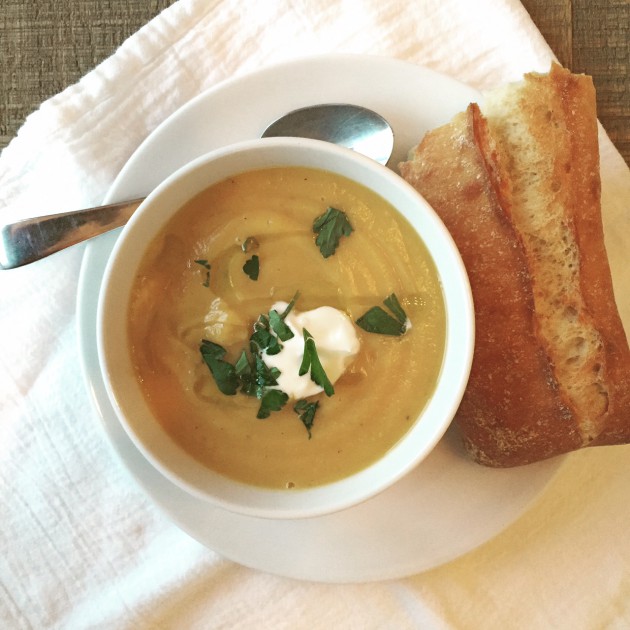
A humble offering of soup seemed right for the occasion (plus I’ve been on a soup kick these last few weeks…tomato, pesto vegetable with orzo, cream of broccoli and potato leek), so I made a roasted butternut squash and parsnip soup topped with creme fraiche and parsley. Super easy…ahem…here is the tip that makes it so easy…buy the precut squash from your supermarket!!! Just throw your squash, parsnips and onion on a pan with some parchment paper and olive oil to roast and you have pretty much finished the bulk of the work. Shazzam!

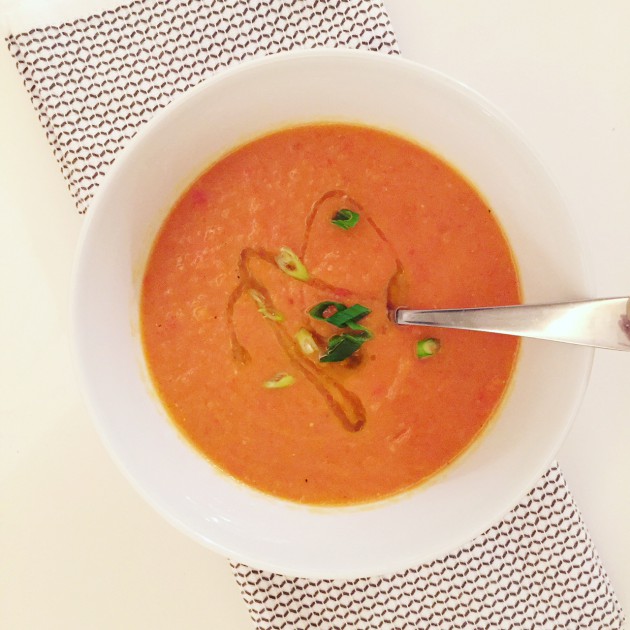
Here’s the recipe for the Butternut Squash and Parsnip Soup…and scroll down for the Tomato Soup recipe from an earlier instagram post too!

Butternut Squash and Parsnip Soup

  • 4 Cups cubed butternut squash (approx. 1.5″)
  • 3 peeled and cubed parsnips
  • 2 medium onions cut in large chunks
  • 6 cups vegetable stock
  • 1/2 tsp thyme
  • 1/2 tsp garlic powder
  • 1/2 tsp dried mustard
  • pinch of cayenne
  • salt and pepper to taste
  • drizzle of cream or half and half

Heat oven to 400 degrees. Spread the chopped vegetables on a parchment lined sheet pan tossed with a few tablespoons of olive oil and roast in the oven for 40 minutes or until soft. Place roasted vegetables in a large pot and add vegetable stock. Heat to a low boil and add remaining ingredients. Then using a stick blender (my preferred method), blend the soup until smooth. Serve and top with creme fraiche and parsley.

* You can easily substitute other vegetables for the parsnips, such as carrots, potatoes, etc.

IMG_3537

Fresh Tomato Soup

  • 1 slice onion
  • 4 whole cloves of garlic
  • 3 tablespoons olive oil
  • 4 cups chopped fresh tomatoes
  • 2 cups vegetable or chicken broth
  • 2 tablespoons chopped basil
  • 2 tablespoons butter
  • 2 tablespoons all-purpose flour
  • 1 teaspoon salt
  • pepper
  • 2 teaspoons white sugar, or to taste
  • drizzle of balsamic vinegar
  • drizzle of cream or half and half
  1. In a stockpot, over medium heat, saute the onion and garlic cloves for 8-10 minutes. Add broth and tomatoes and bring to a boil, and gently boil for about 20 minutes to blend all of the flavors. Add the chopped basil. Remove from heat and run the mixture through a food processor or use a stick blender (my preferred method) and blend until smooth.
  2. In a small pot, melt the butter over medium heat. Stir in the flour to make a roux, cooking until the roux is a medium brown. Gradually whisk in a bit of the tomato mixture, so that no lumps form, then stir in the rest. Season with sugar, salt, balsamic, cream and adjust to taste.

Thanksgiving Table Setting Inspiration: DIY Kraft Table Runner

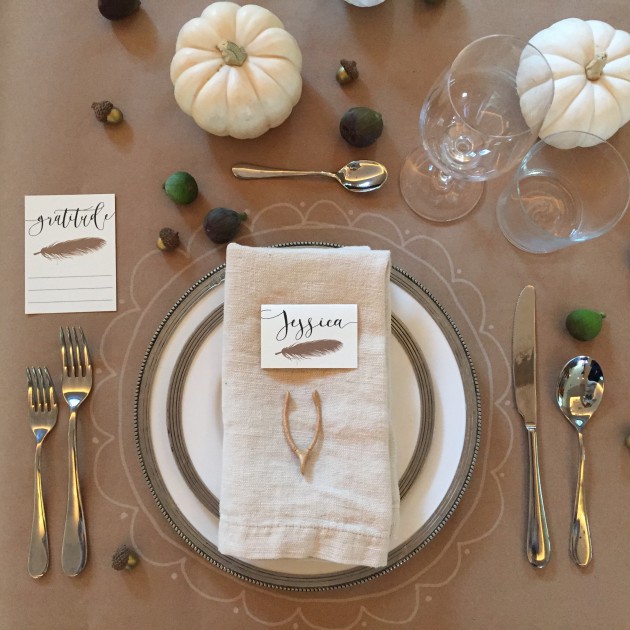
ThanksgivingTableI got a jump start on my Thanksgiving table setting this afternoon and pulled together all of the bits and pieces I had posted about earlier. I love the softness of the white pumpkins, touches of the gold wishbones and acorns, and then a little depth of color from the figs I pillaged from our sleepy garden. Of course I had to add a few printable items in there too. Gratitude and name cards are all the occasion calls for. Hopefully writing down what we are thankful for ahead of time instead of on the spot, we will be more creative. Of course we are all thankful for loved ones and health – that goes without saying – but cozy slippers and that perfect cup of coffee in the morning are not to be forgotten!

I’m all about an elegant table, but I don’t like things to get too fussy either, so the addition of the kraft table runner with the hand drawn white marker “chargers” finished everything off perfectly. After everyone is seated I will let the kiddos have fun and draw all over the table…the distraction gives us big people a little more time to enjoy the annual feast!

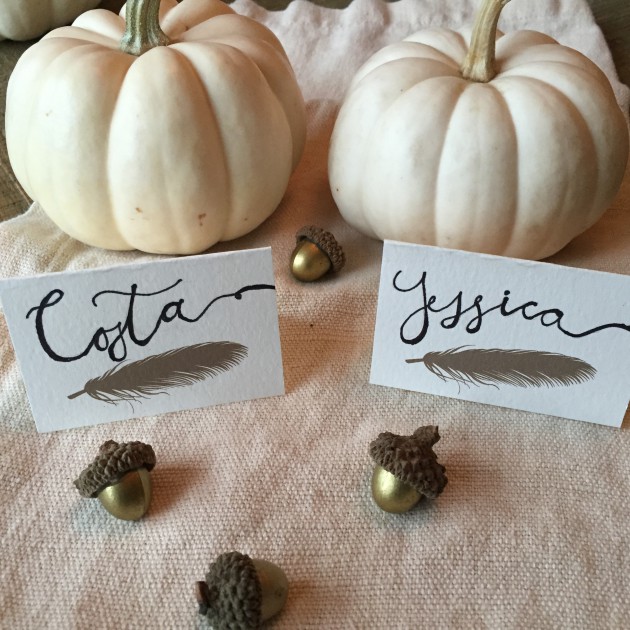
Thanksgiving Feather Name Cards: Freebie

IMG_3342Thanksgiving is just a few days away!! Yikes! I need to be in full planning mode now. To help you out with your table scape, here are the feather name cards I mentioned last week. Print them out for free and you can either lay them flat (cut top off at fold) or write on them. I attempted some calligraphy…not my strongest suite, but it’s fun to try new things.

Also, make sure to print out the free matching gratitude cards as well 🙂

Tomorrow I am going to start a mini set-up of my table and I am going to try my hand with some kraft paper down the table and some white marker decoration…let’s hope it turns out. If it does, I will post pictures 🙂


Hosting Made Easy: Elegant (And Lazy!) Cheese Board

Cheeseboard

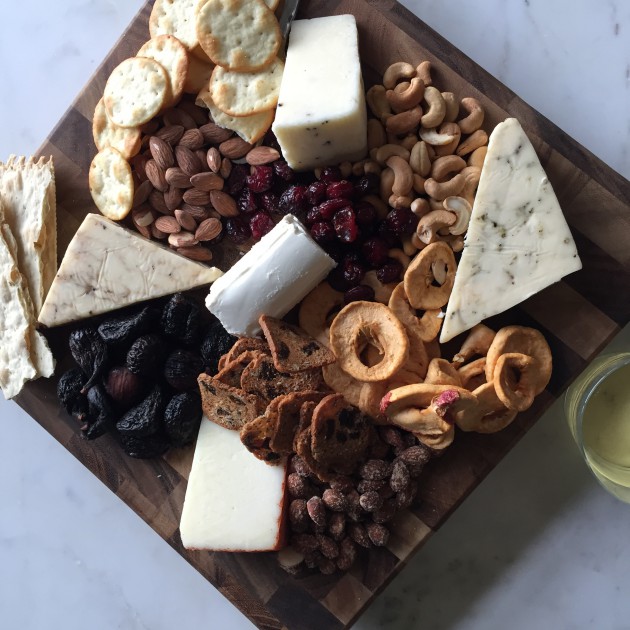
I hosted some girlfriends the other night for appetizers and drinks and I wasn’t in the mood to make a million little fussy apps, so when I’m feeling lazy, this is my go-to version of a cheese board. It may be the lazy way out, but it’s always a show stopper and pleases the crowd because there is something for everyone to pick away at. And it’s also perfectly seasonal for this time of year. Cheese, crackers, nuts and dried fruit all arranged on a giant platter, board or whatever you can find. How can you go wrong?!