Monthly Archives: May 2016

Easiest Limecicles Ever!!

IMG_4996

I don’t know about you, but there is something about making treats and desserts for my kids and husband that just makes me feel good inside. Maybe it’s because it’s my way of showing them I love them and care. Or maybe because it takes me back to a time when I idealize a simpler life. Don’t get me wrong, I’m all about shaving off minutes of my day by picking up ready made at the store. But when I have a moment, I love making treats and snack for my family.

I digress…Are you ready for the easiest, and might I add, yummiest limecicles ever?! My girls love these time and time again and they are by far their favorite of the rotation. I found the recipe from Girl vs. Dough (love her site!) last summer and with a little tweak (more lime!!), I made them continuously throughout the season.  I have recently pulled the recipe out of the archives already for this year. With just three ingredients and a freezer, you will with out a doubt be the “cool” mom 😉

Limecicles

Recipe adapted from Girl vs. Dough

Prep Time: 

Total Time: 

Yields About 12 (3oz) Popciclces

Ingredients

  • 2 cups milk (I used 2%)
  • 1 cup fresh lime juice (from about 8 to 10 small limes)
  • 1 (14 oz) can sweetened condensed milk

Directions

  1. Pour milk, lime juice and sweetened condensed milk into a large bowl; stir until well combined.
  2. Pour mixture into popsicle molds; place a popsicle stick in the center of each mold.
  3. Cover and freeze at least 8 hours or overnight. To easily remove popsicles from the mold, dip the mold in a bowl or container of warm water for 10 to 15 seconds.

Dressing for Disneyland

We did it! We finally went to Disneyland with the kiddos this week! My husband and I are not natural Disney goers, but we both never went as wee ones and knew we wanted our girls to experience it when they were young to capture the magic. Because, let’s just say, when you go for your first time as an adult, you see past all of the smoke and mirrors 🙁 We surprised the girls at 5:30am and told them to grab their stuffies, we are going to Disneyland. My oldest didn’t believe us and quickly proceeded to go back to bed, but with a little pinky swearing we convinced her we weren’t pulling her leg!

IMG_4970

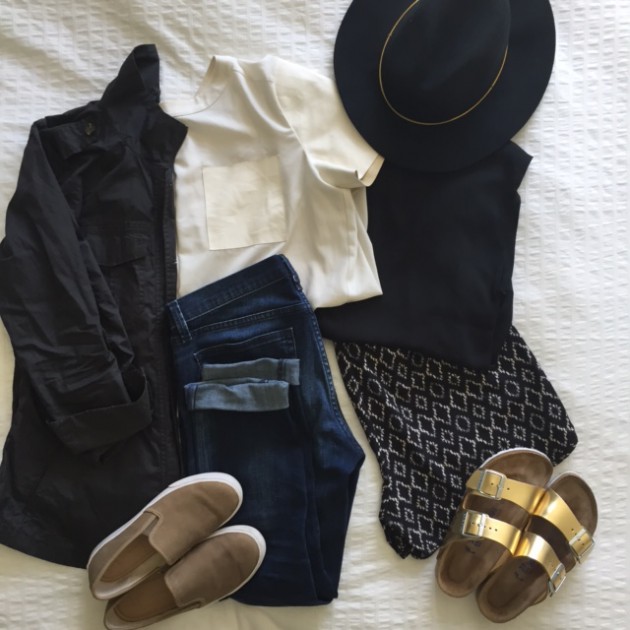
Jeans: Gap; Shorts, Sneakers and black top: Banana Republic; Birkenstocks: Nordstrom; Cream Top: Ann Taylor; Hat: Target

Soooo, my take on Disneyland? I won’t go in to too much detail since this isn’t what this post is about. But I will say, I am glad my girls got to experience it. It was crazy insane at times with tired legs and a massive headache, but to see the look on their little faces, was enough to make it worth while for me. We made the most of our time there and went like gangbusters. Let’s just say, I’m happy to have this Sunday to relax and recoup before our normal crazy week commences. That said, I am surprised at how well I packed. I was comfortable, but also didn’t feel like I could meet up with friends with my head held high 😉 Here is a photo of the main basics I packed. Notice the mostly dark colors to hide any unsightly stain you might pick up? And two pairs of comfy shoes in case one gives you problems. I rotated my shoes so my feet never got too bad with one. A light jacket, jeans, and a hat in case you needed to make a quick coffee run in the morning before getting ready…oh yes, and for the sun! I also through in a pair of shorts that were airy in case it was super hot. I did use them by the pool, but our weather was never super hot. Below are a few extra details and pictures of the beginning part of our trip and Disneyland (might I add that it’s super hard to get cute pictures with everyone and their mother in it as well!!). My personal fave!
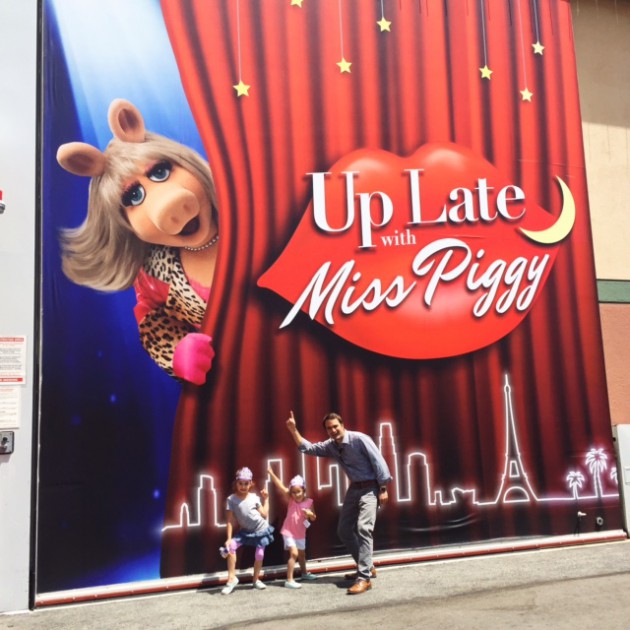
IMG_4973

Miss Piggy!

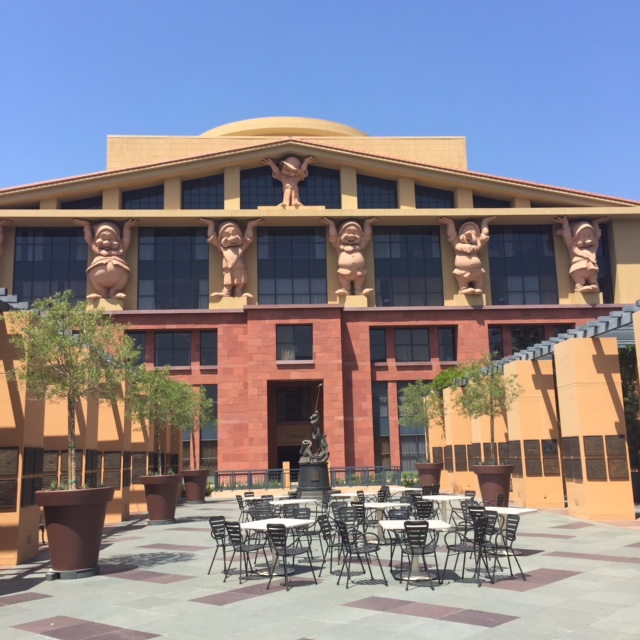
We spent the first day and a half in Burbank for my husbands work. We got to tour the Disney studio lots and I have to say this was my favorite part of the trip. The history behind Disney, how perfectly manicured every nook and cranny was and the attention to detail on the lot was inspirational. You could see the legacy Walt had left behind.

IMG_4976

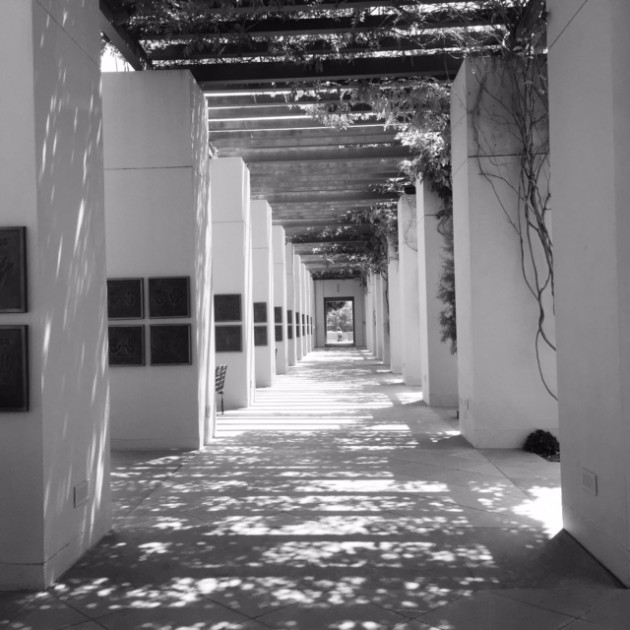
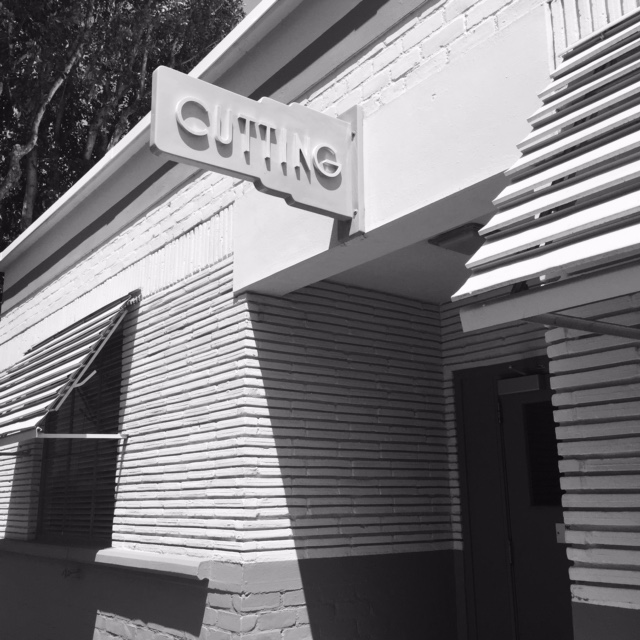
Every walkway on the lot is interesting to tour

IMG_4977

All the buildings are perfectly old school and perfectly maintained

IMG_4972

The seven dwarfs holding up the building

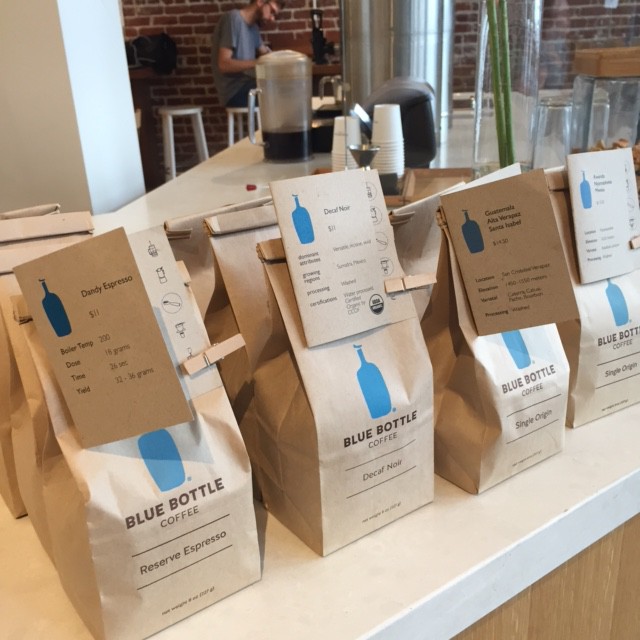
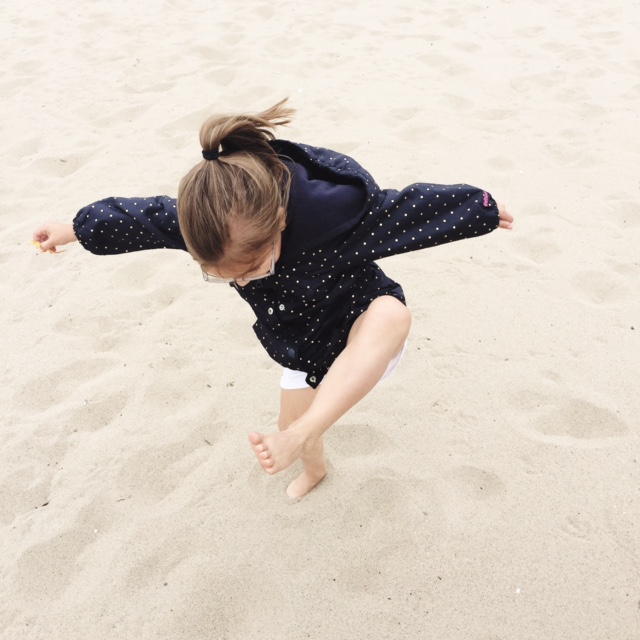
We took a quick road trip to Santa Monica for the girls to get some silly’s out. And despite the cold and grey skies, the girls didn’t want to leave. Then before heading to Disney, we took a quick side trip to Blue Bottle Coffee. I’m telling you…awesome coffee! I wanted to hang out there and be the inner hipster I feel I truly am. Alas, my two kiddos and the spilt coffee all over my sweater made us leave and come back to reality. Disneyland is where we were headed and no matter how much I didn’t want to go, the stars (er, spilt coffee) were pushing us there.

We have this at home and it was fun to see the coffee shop - SUCH. GOOD. COFFEE.

We have this at home and it was fun to see the coffee shop – SUCH. GOOD. COFFEE.

IMG_4971

Someone is having fun in the sand!
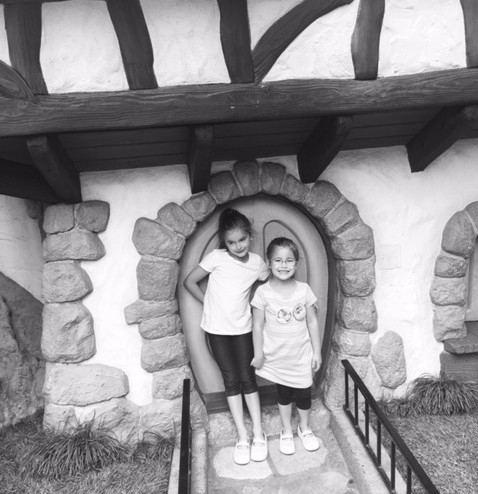
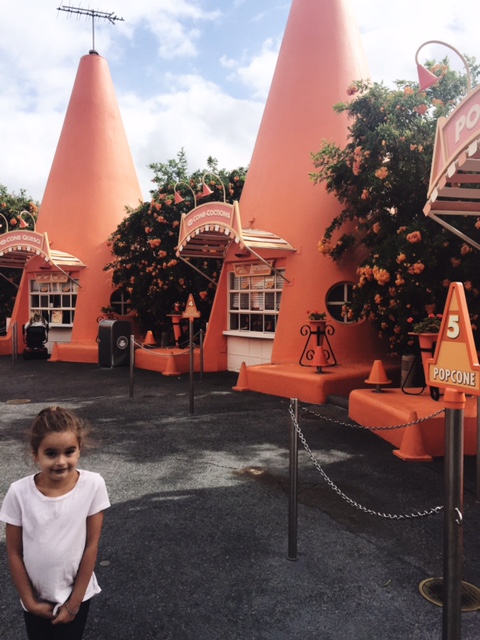
Disneyland

…hard to get good pictures without crowds here so I apologize for the lack of and poor quality


IMG_4974

Easy Zucchini Corn Pancake Recipe

IMG_4643

So I’m in serious need of some good ol’ comfort food and I’m sorry, but I just can’t wait until the fall for it to be “acceptable” again to indulge myself in mashed potatoes, mac n cheese, mashed potatoes…I mentioned that one already didn’t I? That said, this is a comfort food disguised in a spring package! They are easy, flavorful, seasonal and down-right comforting. In fact I am eating some right now 🙂 Perfect for a quick throw together dinner or even make mini ones for an appetizer for a ladies night in.

Recipe adapted from King Arthur


Ingredients:

5 large eggs, beaten
1/4 cup olive oil
2 tsp salt
1/2 tsp ground pepper
1 tsp dried oregano
3 cups grated zucchini (about one large zucchini)
1 cup fresh sweet corn off the cob or frozen corn
1 cup shredded cheddar cheese (or your favorite cheese)
1 cup unbleached all-purpose flour

Directions:

In a large bowl, combine eggs, oil, salt, pepper and dried herbs. Whisk to combine.
Add the zucchini, corn and cheddar cheese and stir thoroughly with a spatula.
Add the flour and stir until thoroughly combined and there are no pockets of dry flour hiding in the batter.
Heat a large cast-iron skillet or griddle to medium-high heat, adding a very small amount of oil to the skillet/griddle. I used cooking spray to make it easy. Using an ice cream scoop, scoop 1/4-cupfuls of batter onto the skillet and flatten with the back of the scoop into a circle about 4 inches in diameter. Cook on each side about 3-4 minutes, or until a deep golden brown. Remove from skillet and transfer to a plate. Repeat with remaining batter. Serve warm with your favorite toppings.

Mother’s Day Card Free Printable

IMG_4611Mother’s Day seems early this year and it’s the same week as teacher appreciation week so I’m a little behind the eight ball (what’s new?). But in the knick of time, I whipped this card up for my Mom to pop in the mail today.

As a Mom for seven years now, I always feel like there are those moments when you are dealing with one issue or another with your kids and lightbulbs go off in your head. You realize you did the exact same thing as a kid and how frustrated your mom must have been with you! So to all those Mother’s out there that have put in their time, I say sorry for holding my breath until I was blue. Sorry for arguing with my brother about who has more room in the backseat of the car. Sorry for not going to the bathroom before we left the house. Sorry for waking you up at night just because I thought I heard something. Sorry for throwing up in the grocery store checkout. Sorry for complaining about what’s for dinner. Sorry for my messy room and leaving a trail of stuff where ever I went. Sorry wearing hideous outfits…shall I go on? I could, but it would take all day. To tell your mom sorry, just click here to download your free PDF. Happy Mother’s Day to all you amazing Mom’s out there and thank you!

Spring Cocktail with Rhubarb Simple Syrup

IMG_4577Last year, I made plum simple syrup from our plum tree and it was absolutely delicious paired with vodka and soda. It’s still too early for plum season, but our rhubarb is coming up like gangbusters. And there are only so many things you can make with rhubarb that my family will eat. I personally would eat it any ol’ way, but my husband and kiddos are more particular and have their quota of baked goods and jam.

For an adult only treat, I was curious what a rhubarb simple syrup would turn out like. I followed my basic recipe and added a few cups of chopped rhubarb during heating. I then strained the juice through a mesh strainer and kept the remaining cooked fruit. After my experiment two things were a happy surprise. 1. the simple syrup makes for a yummy, refreshing and beautiful vodka soda cocktail. 2. The remaining cooked and strained rhubarb is perfectly sweetened and makes for delicious rhubarb sauce! Served it warm over vanilla ice cream for dessert.

Here is the recipe for you all – super easy and quick!

Rhubarb Simple Syrup

Ingredients

1 cup white sugar

1 cup water

2 cups 1/2″ diced rhubarb stocks

Directions

  1. In a medium saucepan combine sugar, water and rhubarb. Bring to a boil, stirring, until sugar has dissolved. Strain juice through a mesh strainer in to large mason jars or any sealable container. Keep the fruit for a delicious sauce! Allow to cool.

For the Cocktail

In 8 – 12 oz glass filled halfway with ice, add 1.5 oz vodka of choice, club soda until 2/3 full, then finish it off with the simple syrup to taste.

Free Printable Teacher Thank You Card – Phew!

IMG_4599Did teacher appreciation week sneak up on anyone else like it did me?! If it did, rest easy, I have a free printable teacher thank you card for you! Our teachers do a wonderful service in teaching and guiding our children to be prepared for adulthood. And nothing is more valuable then a teacher who cares about and works hard for our children. So regardless of our hectic lives and stuff we have going on, I at least want to give them a card – after all, our kiddos spend more time with their teachers than they do their parents during the school year (sniff, sniff). Just click here and print on white card stock and you are good-to-go to say “thank you” to that special teacher in your children’s lives.

Also, check out the free recipe cards I posted last week. I had my girls tell me their favorite recipe and then I typed them on the cards, printed them and am pairing them with these mini measuring spoons for a simple, yet sweet personalized gift for their teachers.