Hazelnut Chocolate Shortbread Christmas Cookies

img_7031

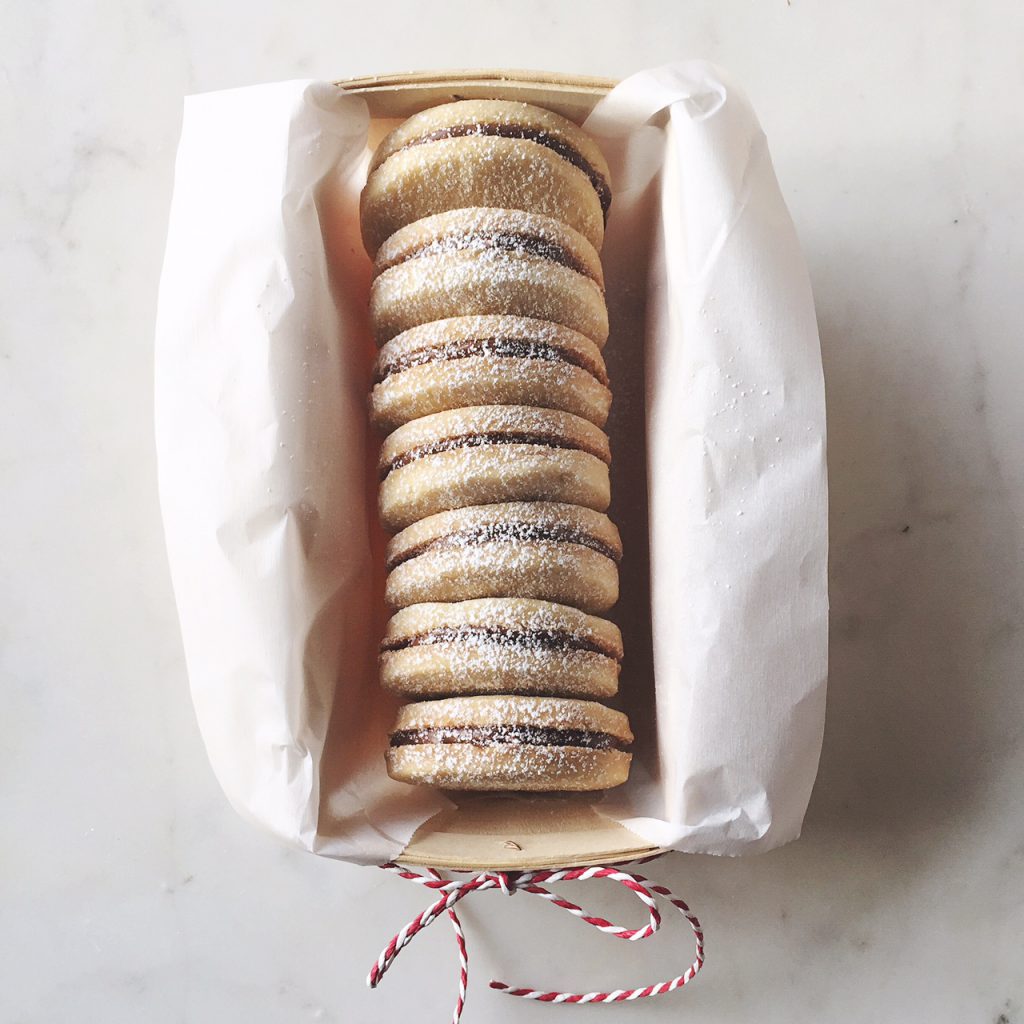
I’m failing my early New Year’s resolution already 🙁 I vowed I would only make one Christmas cookie this year since they don’t get eaten like they used to (this low sugar thing, blah, blah, blah). I let me girls pick what kind they wanted and of course they wanted cut-out sugar cookies with all the bells and whistles of frosting and sprinkles (insert heavy sigh here). I resolved myself to say that was ok. But I should know myself better after 39 years of this. Lying in bed the other night, I was thinking about my Nana’s shortbread that I loved as a kid and haven’t made in several years. Then I thought how much I love Nutella…errrr… chocolate hazelnut butter. Hello! A marriage made in heaven I say.

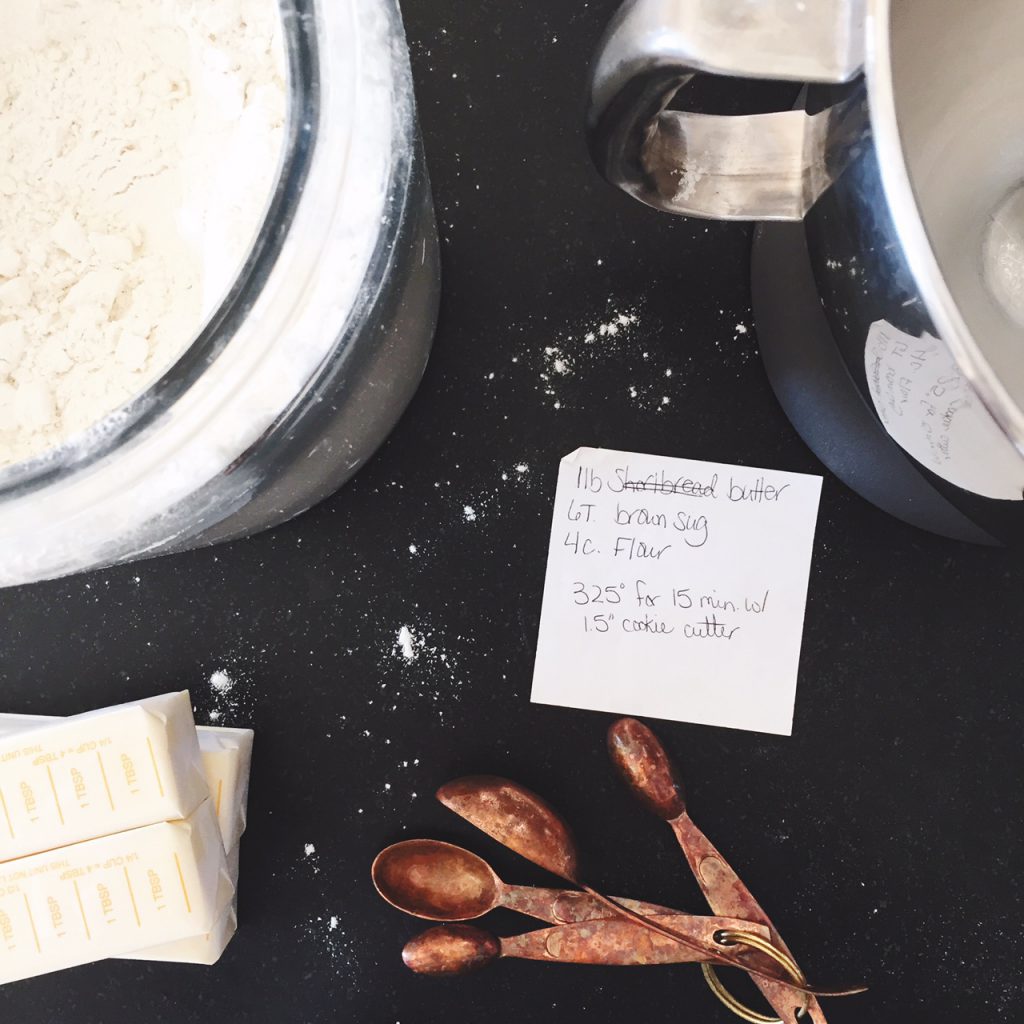
So I made my own Nutella from my Blendtec cookbook. Super easy by the way. Then I set about making the shortbread yesterday. As you can see by my little post-it note, that’s all I have of my Nana’s recipe. I have no idea where it came from, but my dad grew up with them, my mom made them for my brother and I as kids and now I make them. It’s a super simple recipe with few ingredients. I think it’s the simplicity that I like. Or maybe it’s the memories I hold on to of my Nana who passed when I was young. Or maybe it’s the brown sugar, buttery, flakiness of the cookies that I love. I’m guessing it’s the whole package 🙂

image

Without further ado here is the recipe for the chocolate nut butter and shortbread:

Chocolate Hazelnut butter: recipe from Blendtec

Ingredients:

  • 2   cups toasted hazelnuts
  • 1⁄2   cup coconut oil, melted
  • 1⁄2   cup cocoa powder
  • 1   tsp vanilla extract
  • 1   cup powdered sugar

Directions:

  1. Add coconut oil and hazelnuts to FourSide or WildSide+ jar and secure lid (If making in Twister jar, decrease ingredients by half). Blend on a low speed for 15 seconds and then increase to a high speed for 35 seconds (until blended time reads 50 seconds).
  2. Stir mixture towards center of jar, then secure lid.
  3. Blend on a medium speed for 50 seconds. Stir, secure lid, and repeat this cycle two more times.
  4. Add cocoa powder, vanilla extract, and powdered sugar to jar and secure lid. Blend on a medium speed for 50 seconds.
  5. Store in an airtight container in the refrigerator for 4-6 weeks. Bring to room temperature before serving or spreading on shortbread cookies.

*Note: To toast hazelnuts, preheat oven to 350°F. Spread hazelnuts on shallow baking sheet and toast in oven until skins darken, approximately 8-10 minutes. To ensure even toasting, stir the hazelnuts after 4-5 minutes in oven, then finish toasting. Wrap the cooled hazelnuts in a clean kitchen towel and rub towel back and forth to remove most of the hazelnut skins.

Nana’s Shortbread Recipe:

Ingredients:

  • 1 pound cold unsalted butter, cubed
  • 6 tbsp brown sugar
  • 4 cups white flour
  • 1/2 tsp salt

Directions: Makes Approx. 30-40 individual cookies (15-20 sandwich cookies)

  1. Heat oven to 325°
  2. In a standing mixer, mix on medium low all ingredients until dough just comes together, but be careful not to over mix or over handle the dough!! Form dough into a disc and wrap in plastic wrap. Chill for 30 minutes.
  3. Roll out dough to approx. 3/8 inch thick. Cut circles using a 1.5″ circle cookie cutter. *I used a 2″ in the picture above, but personally they would be better smaller and would get more cookies!
  4. Bake on cookie sheet lined with parchment paper or silpat liner for 10-15 minutes depending on your oven. Keep an eye on them the last few minutes. The bottoms should be just lightly browned.
  5. Once cooled, spread one cookie with chocolate hazelnut butter and place another on top. Store in fridge or freezer. Enjoy!

Christmas / Holiday Gift Tag Freebie

img_7001

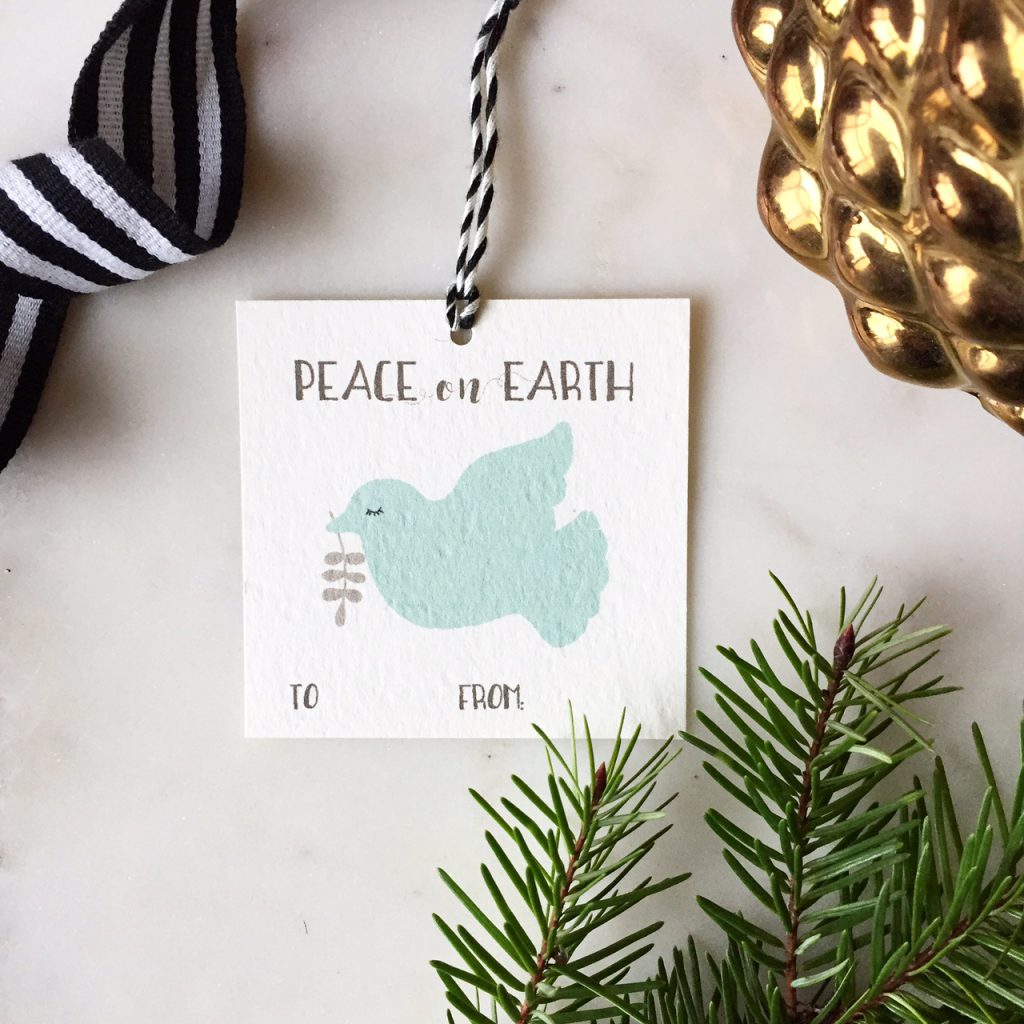
I’m popping in twice in one day! It’s a record for me since I rarely get more than an hour or two to sit at my computer. But today, I was able to create some holiday gift tags for you to print out. Maybe I have birds on my mind because we just added a new little parakeet to our family or maybe it’s because this world feels like it could use some Peace on Earth.

Without getting too deep, I hope that during this special time of year, no matter what your faith or beliefs are, that we can all have some moments of peace in the world. A moment where we can wake up, turn the news on and not have to sensor it from our children.

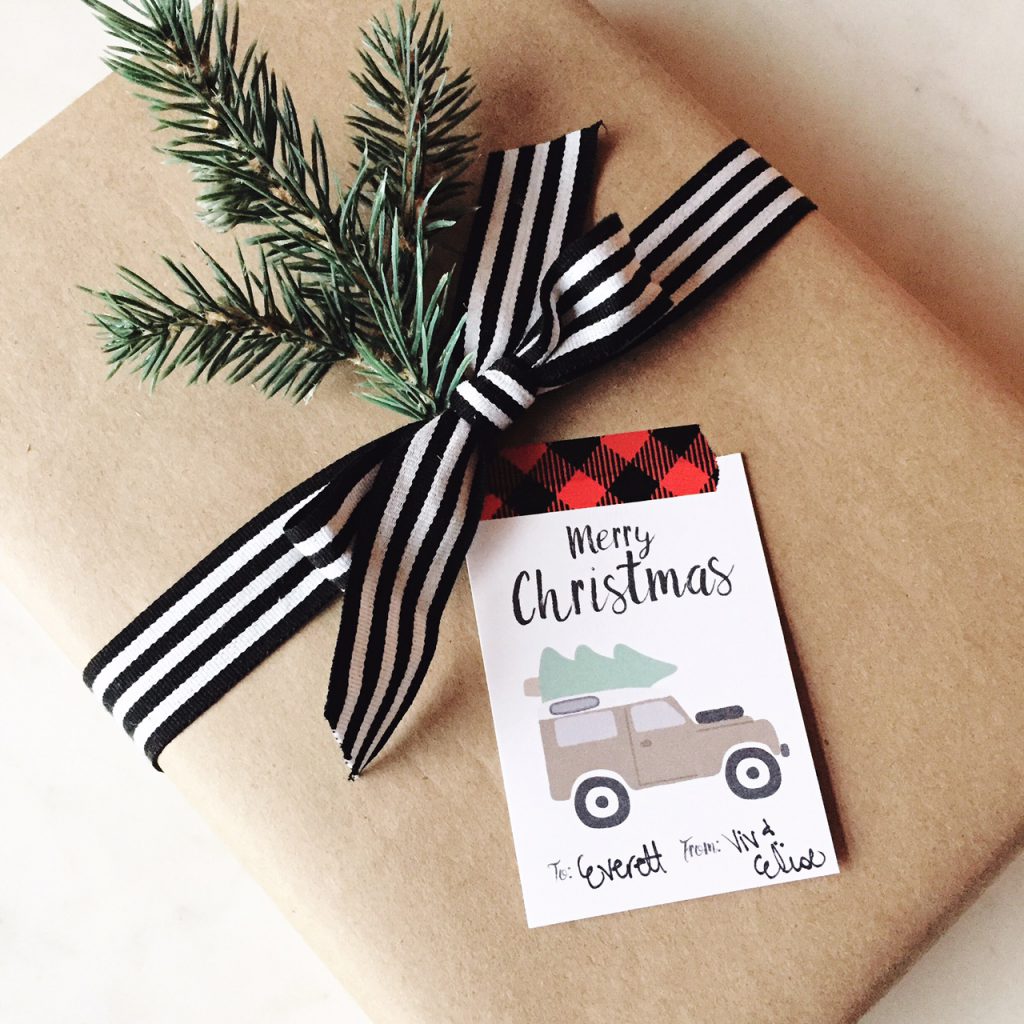
I hope your holiday season is filled with peace, love and joy! Click here for the free printable gift tags.  You get 12 per page and can print as many as you need. And I’ve got an idea for a landrover one for those more rugged folk in your life so check back next week for another freebie 🙂

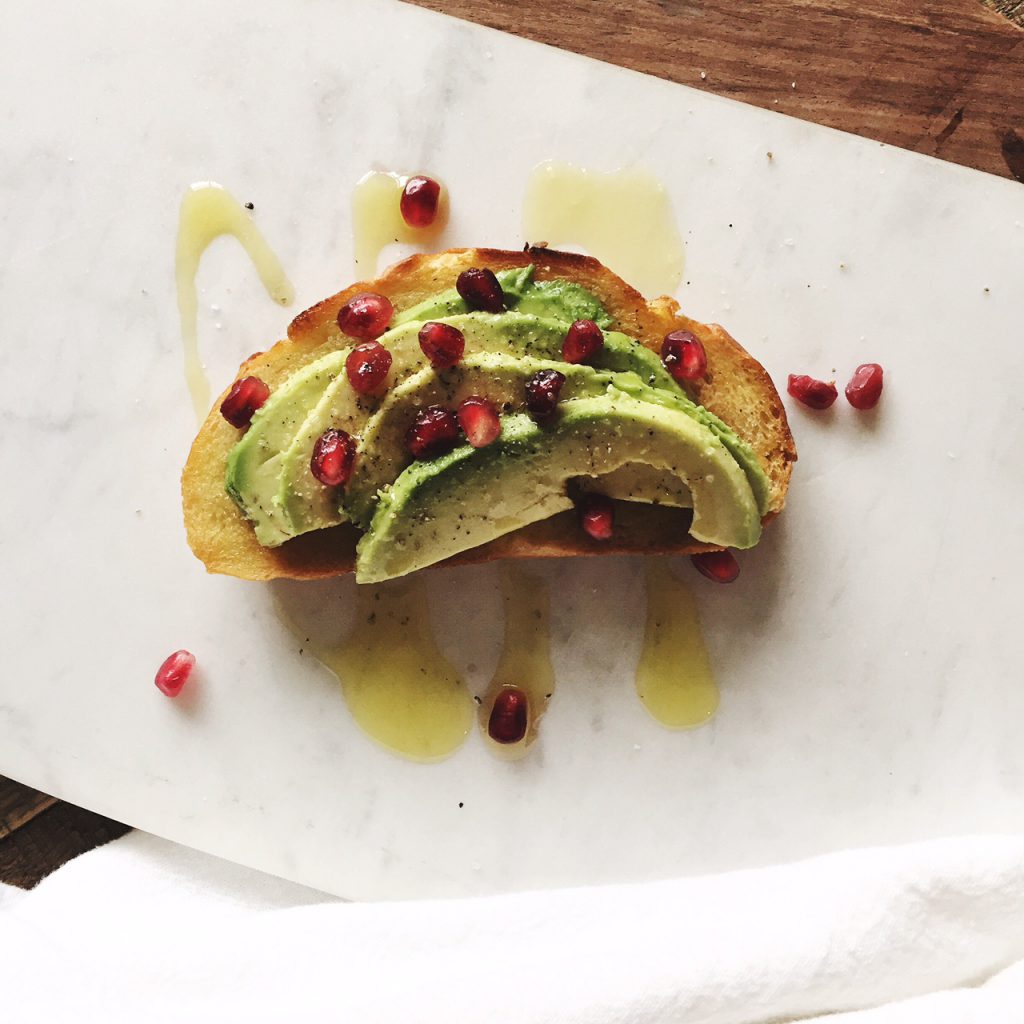
Avocado Toast with Pomegranates

img_6967

Hey y’all…I’m not from the south, but it’s such a warm and friendly opening, that it’s fun to use every now and then. Ok – back to my purpose here 🙂 I posted this beautiful pic last week on Instagram. I was craving some avocado toast, which by now, is familiar to most everyone who enjoys themselves some avocado. I do love a simple and straight forward avocado on toast sprinkled with salt and pepper and then drizzled with some olive oil. However, on this particular day, I was craving some comfort food for lunch with a bit of punch at the end. As luck would have it, I had some pomegranates to use up. Just sprinkle some on top and you have yourself an elevated avocado toast in no time at all. And it’s festive for the season. They would be great little appetizers at your next holiday party too! Just make mini versions 🙂

There really is no need for a recipe posted here, but just in case…Toast some good bread (I used Como bread, but a seeded wholegrain would be delish as well). Thinly slice some ripe avocado for your toast. Drizzle with good olive oil, sprinkle with salt, pepper and pomegranates. And the next most important step is to take a huge bite (if in the company of one’s own) and enjoy comforting yumminess of this fabulous combo!

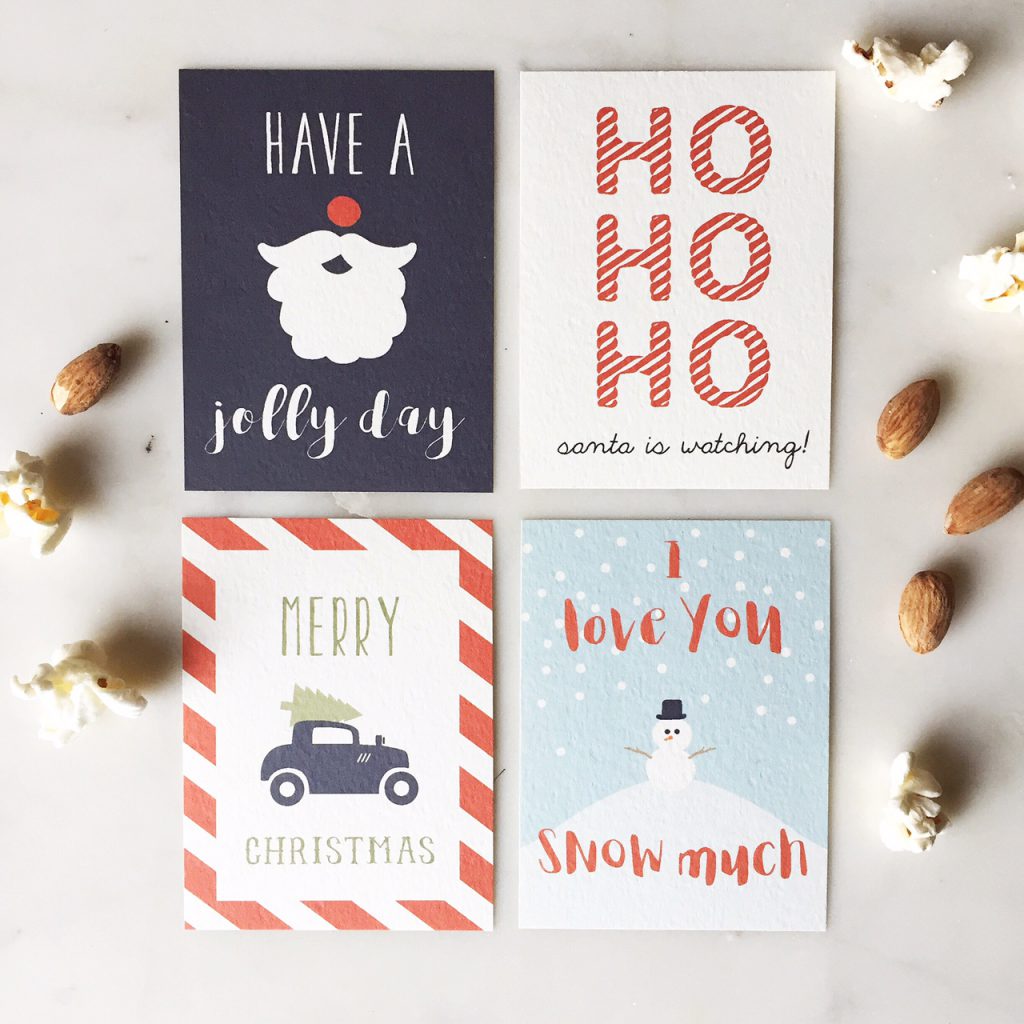
Christmas Kids Lunch/Love Notes: Freebie!!

lunch-notes_xmas img_6957Hi Everyone! I hope you all had a wonderful long weekend filled with loads of turkey, mashed potatoes, stuffing, family and holiday decorating! We certainly did and what an effort it is. Every year I tell myself it’s too much, but then throughout the year I forget and get excited to do it all over again…who’s with me?!

I digress…the point of this post is to offer you some free printable Christmas themed lunch notes for your kiddos lunches this season. Why not keep the lunches festive and the cheer going while they are away at school? I came up with these cuties yesterday and my girls are getting their first ones in their lunches today. I am especially fond of the santa jolly one 🙂 I hope you enjoy! There are more general themed ones for the rest of the year in my Etsy Shop (see tab on home page). Enjoy this magical time of year and I’ll see you soon with some more holiday posts. Oh, and click here for the free downloadable PDF.

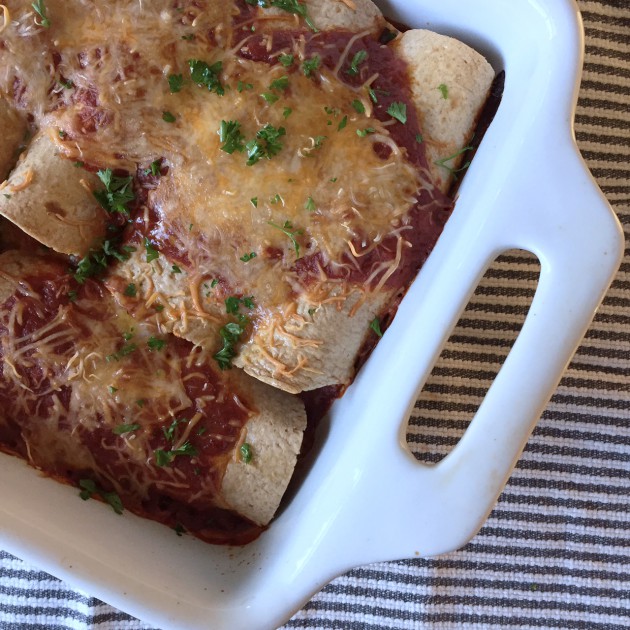
Vegetarian Black Bean and Rice Enchiladas

fullsizerender-6

Happy Monday everyone! I hope you all had a good weekend full of fun and relaxation. I got to do a little cooking since soccer season is over and I have to say, it’s been nice to slow down a tad. For some comfort food on a rainy evening last week, I made these enchiladas that I’ve made for years that are always a hit with a crowd, but I’ve never written the recipe down. I FINALLY did this time and am here to share it with you. They are pretty simple, but the various steps adds some time. But if you do a few prep steps throughout the day or ahead of time, they are not too bad and so worth it! You can even make the filling and sauce the day before. And they make a big batch so usually freeze the smaller pan I have left for a quick meal full of healthful goodness for later on.

Feel free to play with the filling ingredients to your liking. You could add corn, red pepper, hot jalapeños, more beans, etc. For the tortillas, the enchiladas are of course super yummy with fluffy white tortillas. I’ve tried using organic whole wheat tortillas, but they simply aren’t as yummy. I prefer to use 100% wholesome ingredients, but sometimes the flavor and texture isn’t worth the substitute. I know these have a few too many ingredients, but to compromise, I have used the Mission Carb Smart wheat tortillas and they work just as well as fluffy white ones. Whatever you choose, make sure they are soft and bendable so they don’t crack while assembling.

Here’s the recipe…

Vegetarian Black Bean and Rice Enchiladas:

Makes 12-13

Heat oven to 350 F. and cook brown rice according to package directions (usually 40 minutes). While rice is simmering, prepare the following.

Sauce:

  • 1 1/2 tablespoons vegetable oil or corn oil
  • 1 medium onion, chopped fine (about 1 cup)
  • 1.5-3 tablespoons chili powder (depending on your desired heat level)
  • 2 teaspoons ground cumin
  • 1/2 teaspoon table salt
  • 2 teaspoons granulated sugar
  • 2 cans tomato sauce (8 ounces each) + 1 cup water

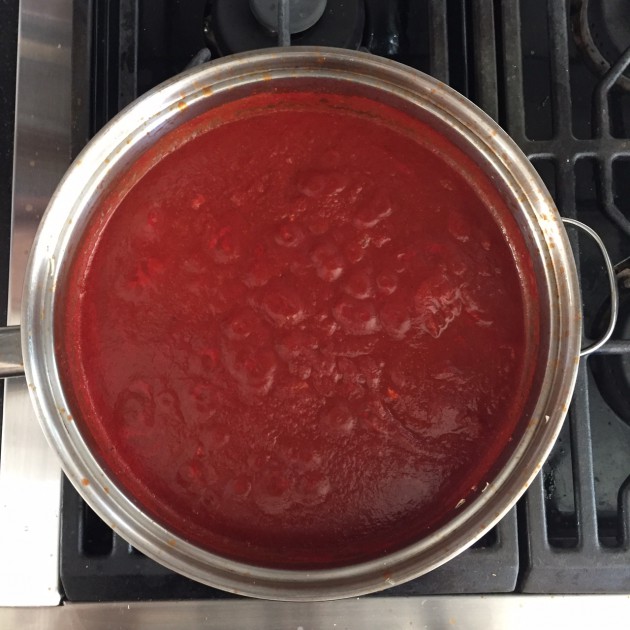
Heat oil in medium saucepan over medium, add onion and cook, stirring occasionally, until softened about 5 minutes. Add chili powder, cumin, salt, and sugar; cook, stirring constantly, until fragrant, about 30 seconds. Add tomato sauce and 1 cup water. Bring to simmer, then reduce heat to medium-low; simmer uncovered, stirring occasionally until thickened about 8 minutes. Set aside.

*You can strain the sauce for a smoother texture, but I like it a little chunky and truthfully I don’t even notice the onions after it’s baked.
img_6773

Filling:

  • 1 cup uncooked rice (follow package cooking directions)
  • 1 tablespoon olive oil
  • 1 cup diced zucchini
  • 1 cup diced crimini mushrooms
  • 1/2 cup chopped fresh cilantro leaves
  • 1 8oz can black beans, drained
  • 1 – 4oz can diced mild jalapeños, drained
  • 8oz grated light sharp cheddar cheese or mexican blend (about 2 cups)
  • Salt (approx. 1.5-2 tsp) and pepper (approx. .5 tsp) to taste
  • 12 – 13 fajita size tortillas

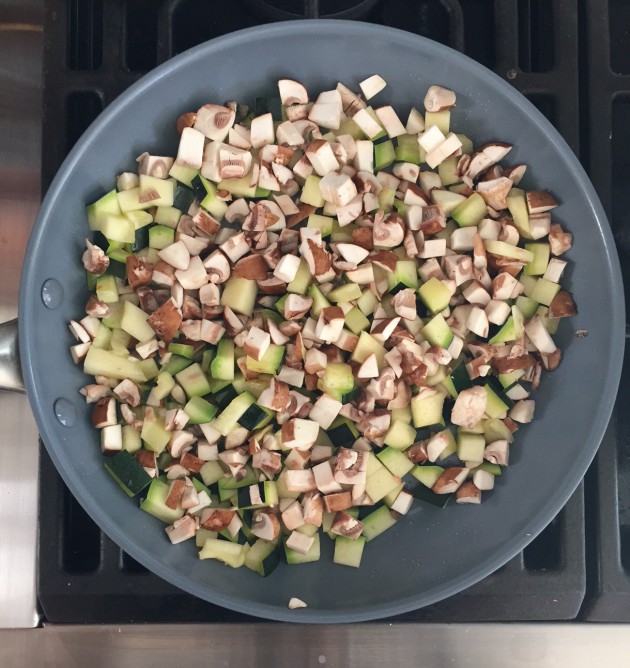
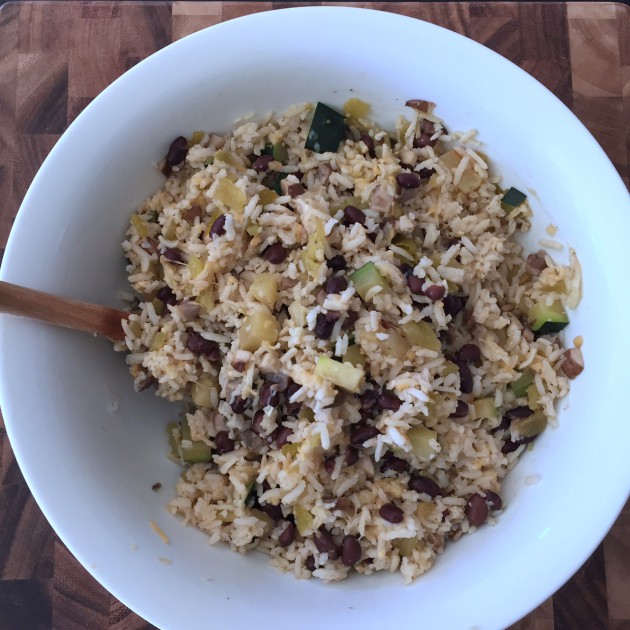
Saute zucchini and mushrooms over medium heat until softened about 5-10 min. Add zucchini and mushroom mixture to a large bowl with all of the cooked rice, jalapeños, cilantro, beans, salt, pepper and 1.5 cup cheese cheese.
img_6771

fullsizerender-5

Assembly:

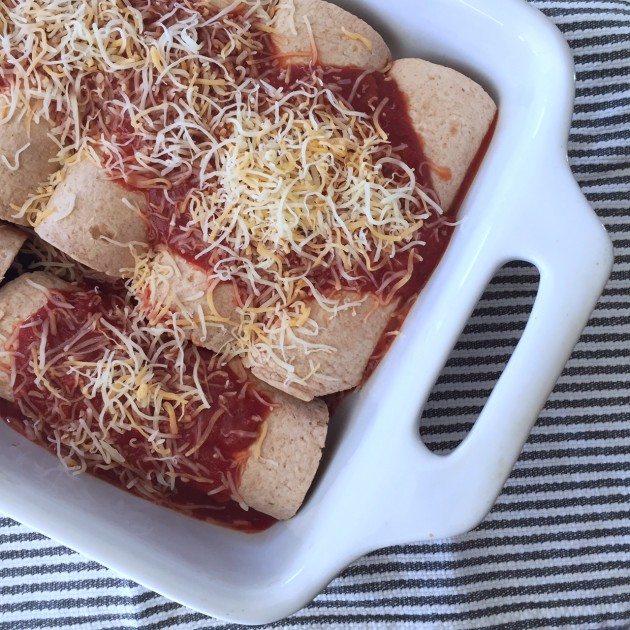
In a 9×13 lasagna pan, spread 3 ladles full of sauce to the bottom. Add a half cup of rice mixture in each tortilla. Place folded tortilla fold side down in pan. I can usually only get about 8 enchiladas in a pan so I add the remaining to a 8×8 square pan (with a bit of sauce on the bottom as well) and freeze for later if I don’t need them. Pour remaining sauce over the enchiladas and sprinkle remaining cheese (you can add more if you like) over the enchiladas. Bake for 30-40 minutes at 350 F. until the tortilla edges are lightly browned. Cool for approximately 10 minutes before serving. You can top enchiladas with sour cream, cilantro, avocado, etc.
fullsizerender-4

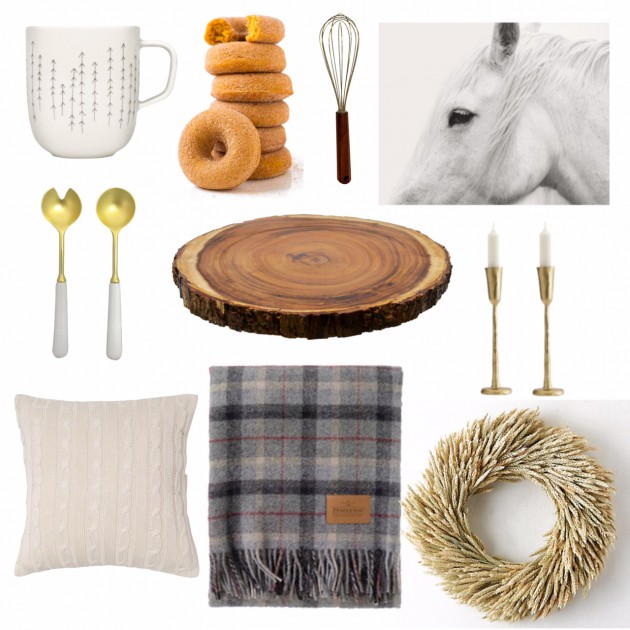
Autumn Mood Board

img_6769

This is my absolute favorite time of the year. I love crisp autumn weather, cozy layers of sweaters and boots, sipping coffee by the fire while under a fuzzy blanket and the anticipation of the holidays. If I could take a snap shot of what makes me happy, this mood board wraps it all in one little present for me. Some of these goodies I already have in my home and some of them I am hoping Santa will bring me 🙂 I hope you enjoy! Below are the links to the items as well as the recipe (one of my faves!) for the pumpkin donuts. Some of the items are no longer available, but the link will direct you to the site they were from for similar items.

  1. Mug
  2. Donut Recipe
  3. Porcelain & Gold Serving Spoons
  4. Wood/Gold 12″ Whisk
  5. White Horse Framed Print 
  6. Round Rough Edge Serve Platter
  7. Brass Candle Sticks
  8. Plaid Blanket
  9. Cable Knit Pillow
  10. Dried Rye Wreath

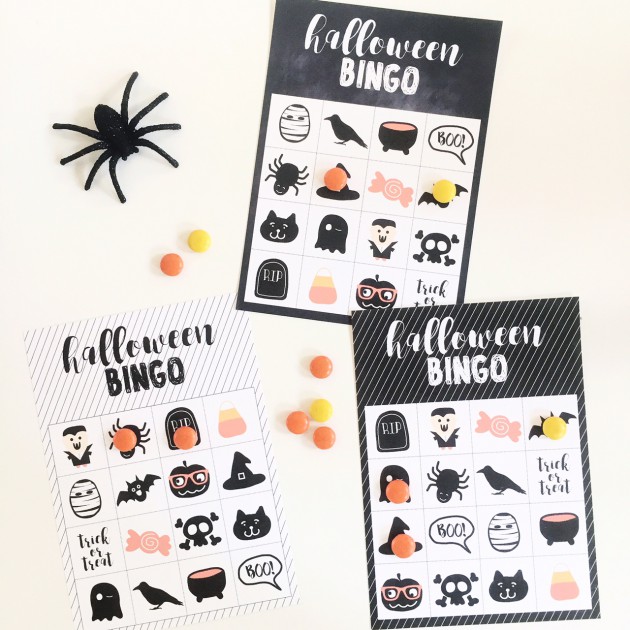
Halloween Bingo – Class Room Party Freebie!

img_6670

And just like that, it’s Halloween! Are you all ready?! I think we are now that my girls have their costumes and I’ve got this Halloween bingo under wraps for my oldest’s class party on Monday. There are a ton of variations of Halloween bingo out there on Etsy, but here is my take on it…and it’s free!!

If your kiddos are having a party and need you need an easy game, just print these out and trim. Done and done! There are twelve different cards (Click here) and one set of calling cards (Click here) with all of the individual pictures. You can use any little candies you like for the place holders 🙂

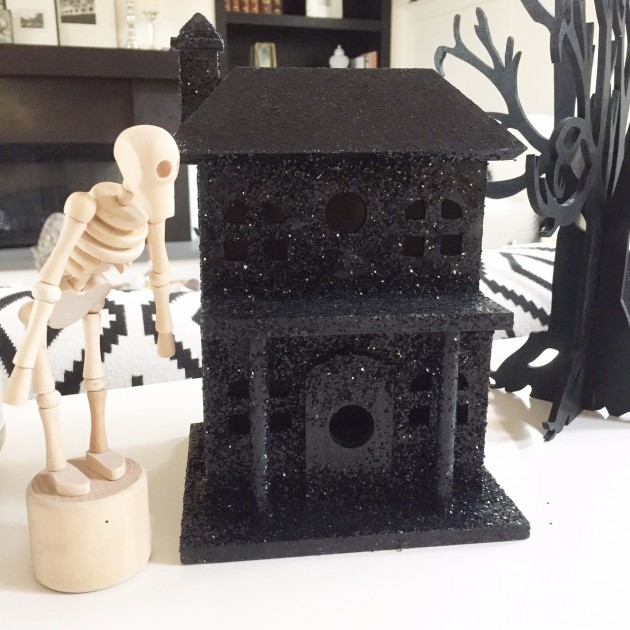
DIY Haunted House

img_6637

I’ll be honest, I love me some halloween decorations, but I’m not a fan of the gore. And to find simple halloween decorations, that also don’t lean toward cutesie is hard. So sometimes one must come up with their own and DIY it. I made this haunted house last year and I think I must have spied something similar, but didn’t want to fork over the large sum of money it cost. I have my limits on how much I want to spend on seasonal decor.

While I was at the craft store, I spied some unfinished bird houses and the idea popped in my head to come up with my own low cost version and I quite love it. And it’s super simple…like I would do anything that wasn’t 😉 So without further ado, here is what you need:

Supplies:

  • Unfinished wood bird house from local craft store
  • Black acrylic paint
  • Black glitter
  • Paint brush
  • Sponge brush
  • Clear household glue (like this one)
  • Cookie tray with low sides to catch the glitter and lined with wax paper (or any kind of paper to protect your cookie sheet from paint)

How To:

  1. Place the bird house in the cookie sheet and paint it black with the paint brush.
  2. Once paint is dry, cover the house with clear glue all over with sponge brush.
  3. Before glue dries, add the black glitter. Voila! You have a sparkly haunted house!


Encouragement Greeting Card: Freebie

img_6511


We all have a friend or family member going through a tough time in their lives and it’s sometimes hard to know what we can do to help. For me, I resort to food. When I feel stuck and helpless to help out…I bake or cook. If you have a dietary restriction, no problem! I will find a way to make something (hopefully) yummy. If it’s your special day, I will make you a cake! If you are tired after school, I will bake you a cozy treat. And if you have had just a down-right, bad luck of cards handed to you and there is nothing we can say or do to fix things other than time and prayer…I will bring you food. I wish I were more creative, but it’s in my blood and that’s how I show you I love you and am thinking of you.

I put together this little care package of chocolate chip cookies and a card of encouragement the other day for a dear friend. I love her dearly and my heart is aching for her right now. I want to wipe away all her problems, but I can’t. It sucks. But I can’t. It’s not much, but a few cookies and a card will hopefully put a smile on a friend’s face. Even if it’s small and it’s for a brief second, it’s worth it. Click here for the free greeting card. Pair it with their favorite fresh baked cookies and hopefully you bring a smile to their face and lighten their burden for a few seconds of their day. We could all use a little encouragement now and then, even if our problems are big or small. What’s your way of showing someone they are loved?!

Halloween Lunch Box Notes: Freebie!

halloween-lunch-notes_digital img_6483

It’s looking like halloween around this household and chatter about the girl’s costumes is underway…I need to start thinking about that! But in the mean time, I have successfully managed to put a lunch note in the girl’s lunch with a written note on the back EVERY DAY so far. I’ll give myself a pat on the back for that one 😉 I am getting tired of the same ol’ rotation of notes that I have, so I thought it would be fun to make some seasonal holiday ones to change things up for a few months.

I sat down today to come up with some halloween ones and I hope to follow up with some Thanksgiving and Christmas ones as well. You can download these free lunch notes here!