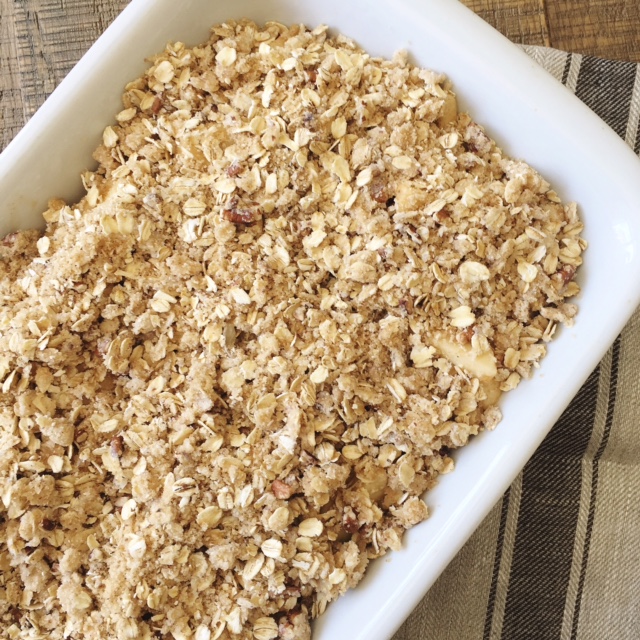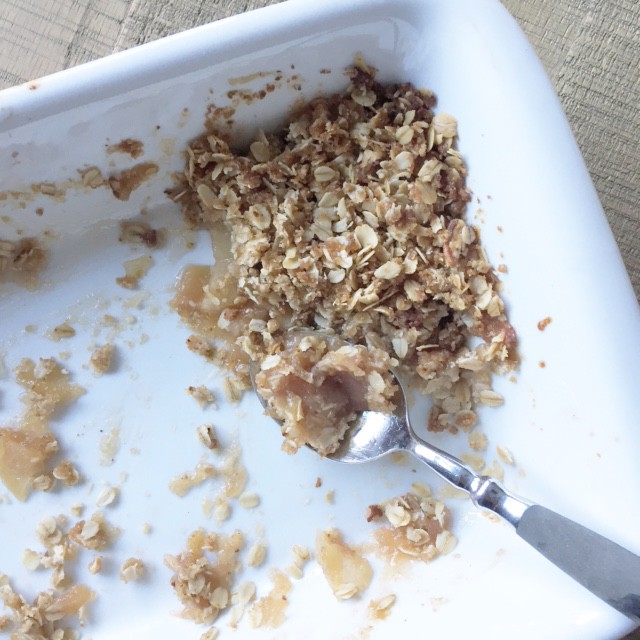
We all have a friend or family member going through a tough time in their lives and it’s sometimes hard to know what we can do to help. For me, I resort to food. When I feel stuck and helpless to help out…I bake or cook. If you have a dietary restriction, no problem! I will find a way to make something (hopefully) yummy. If it’s your special day, I will make you a cake! If you are tired after school, I will bake you a cozy treat. And if you have had just a down-right, bad luck of cards handed to you and there is nothing we can say or do to fix things other than time and prayer…I will bring you food. I wish I were more creative, but it’s in my blood and that’s how I show you I love you and am thinking of you.
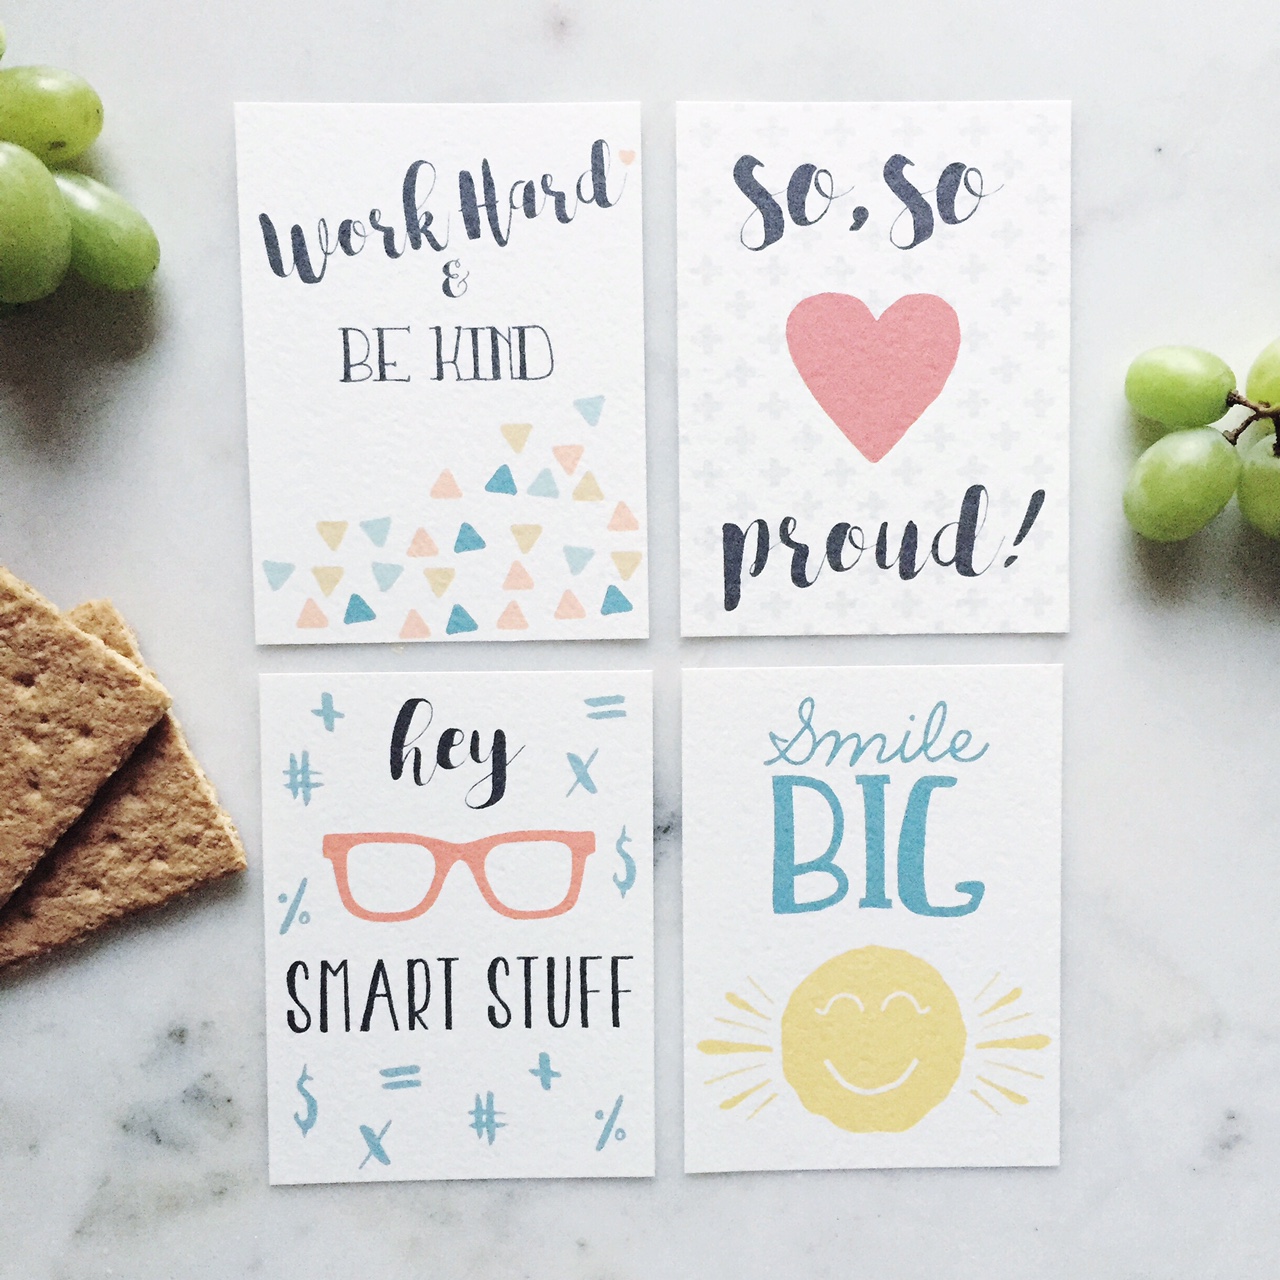
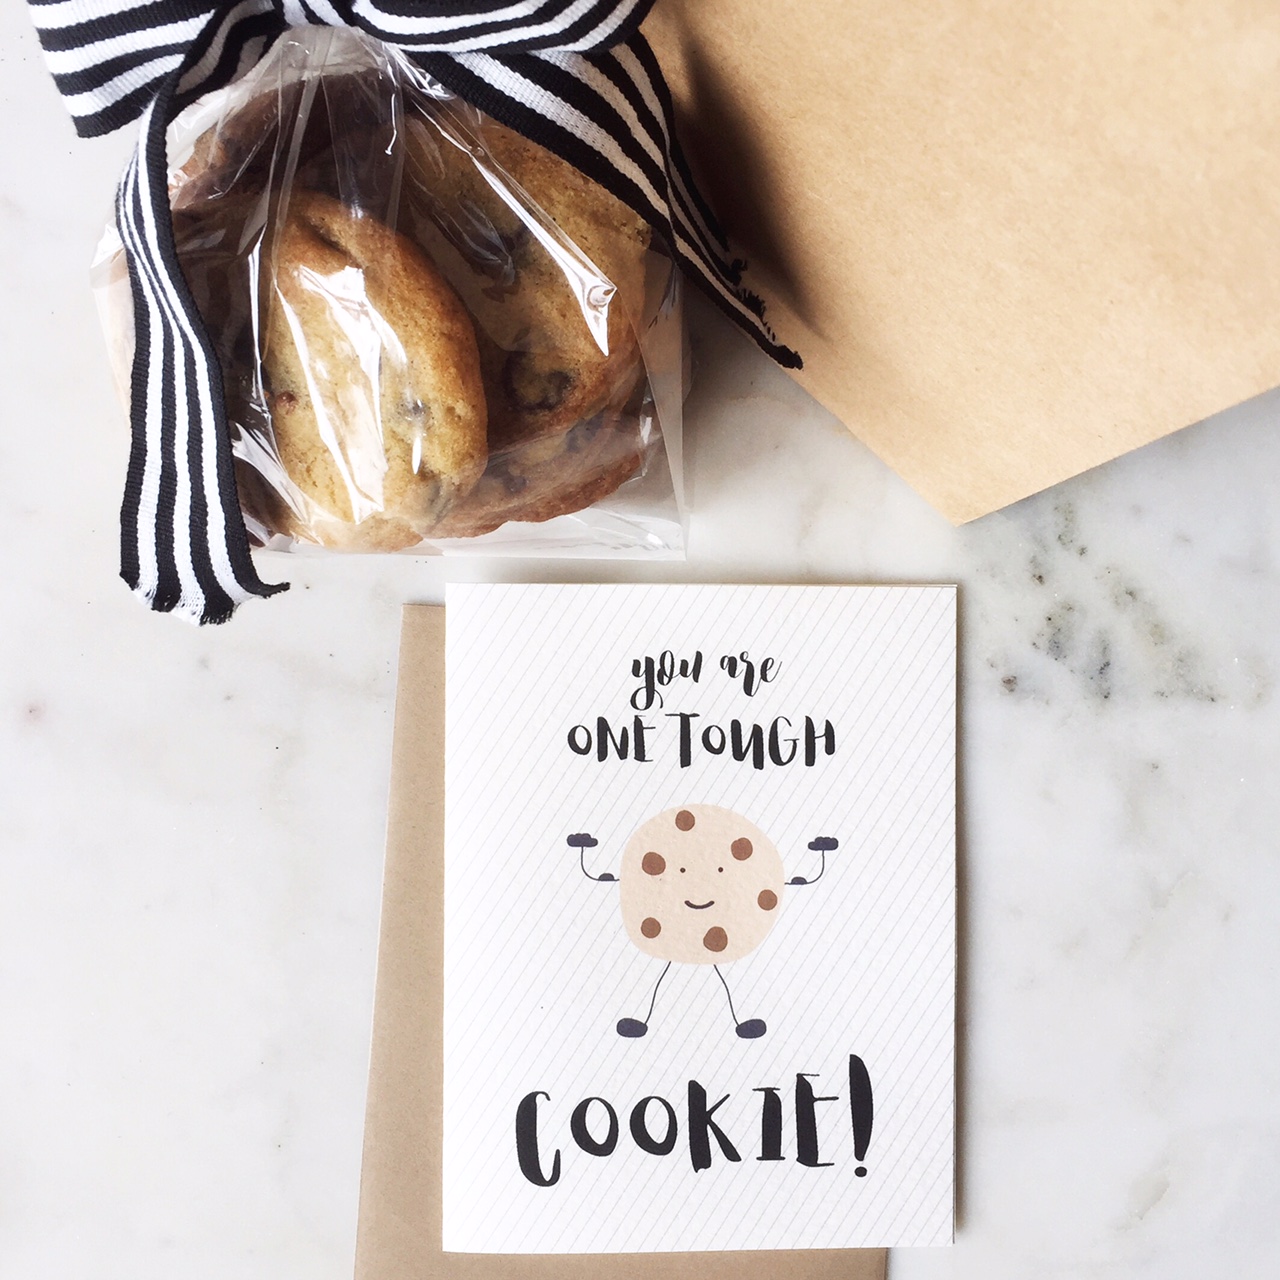
I put together this little care package of chocolate chip cookies and a card of encouragement the other day for a dear friend. I love her dearly and my heart is aching for her right now. I want to wipe away all her problems, but I can’t. It sucks. But I can’t. It’s not much, but a few cookies and a card will hopefully put a smile on a friend’s face. Even if it’s small and it’s for a brief second, it’s worth it. Click here for the free greeting card. Pair it with their favorite fresh baked cookies and hopefully you bring a smile to their face and lighten their burden for a few seconds of their day. We could all use a little encouragement now and then, even if our problems are big or small. What’s your way of showing someone they are loved?!