Teacher Appreciation “Recipe” Card…Free Printable!!


IMG_8062

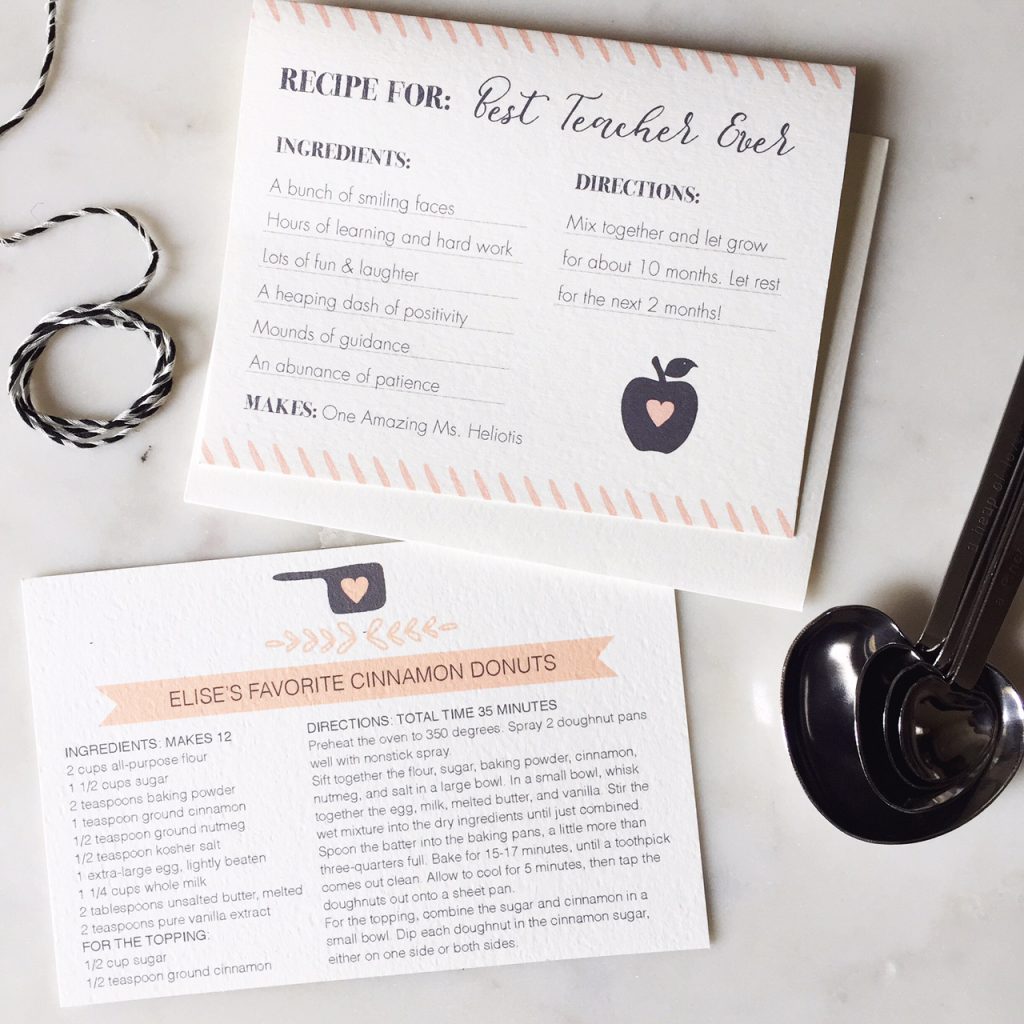
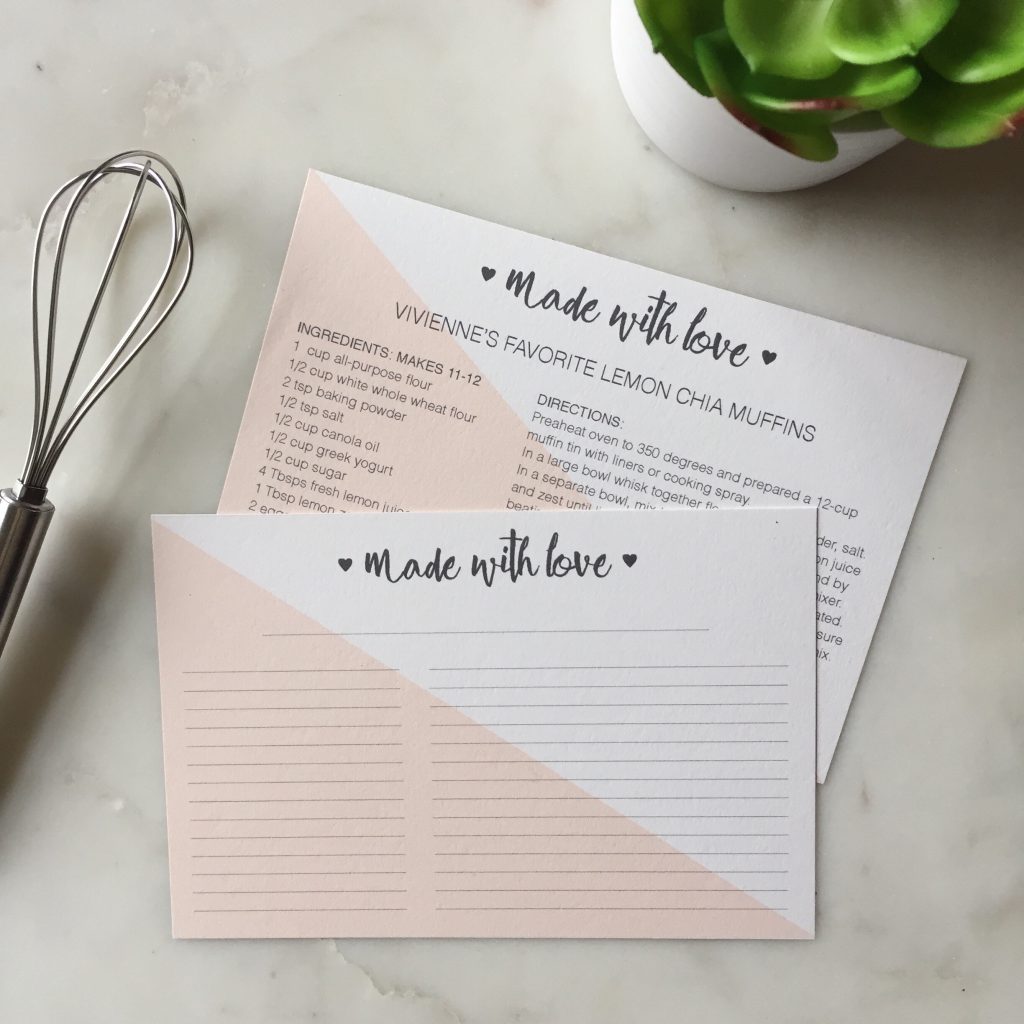
If you are rushing to find a little gift for your kid’s teacher, I’ve got a little something to save your bacon. I put together a little package for both my girl’s teachers this year. It’s small, sweet, personalized and best of all, easy to do! Just click here to download the free teacher appreciation card that, pair it with one of my instant download and editable recipe cards in the Frella Design Etsy shop and pick up a little kitchen tool such as the heart measuring spoons you see in the picture (Amazon!), but anything will do. I added each of my daughter’s favorite treat recipe to give to their teacher to make it personal to each of their teachers.

Our teachers deserve to be appreciated for all they do – I know that when I am in the class room for even an hour, I am spent and wonder how they manage day after day! They create an environment where our children feel safe, teach them something new every day and help shape and guide them to one day be participating adults in the big world. There is nothing easy or simple about that and we thank all of you wonderful and tireless teachers out there for the amazing service you provide our children. XoXo

Easter Watercolor Name Cards – Free

IMG_7894

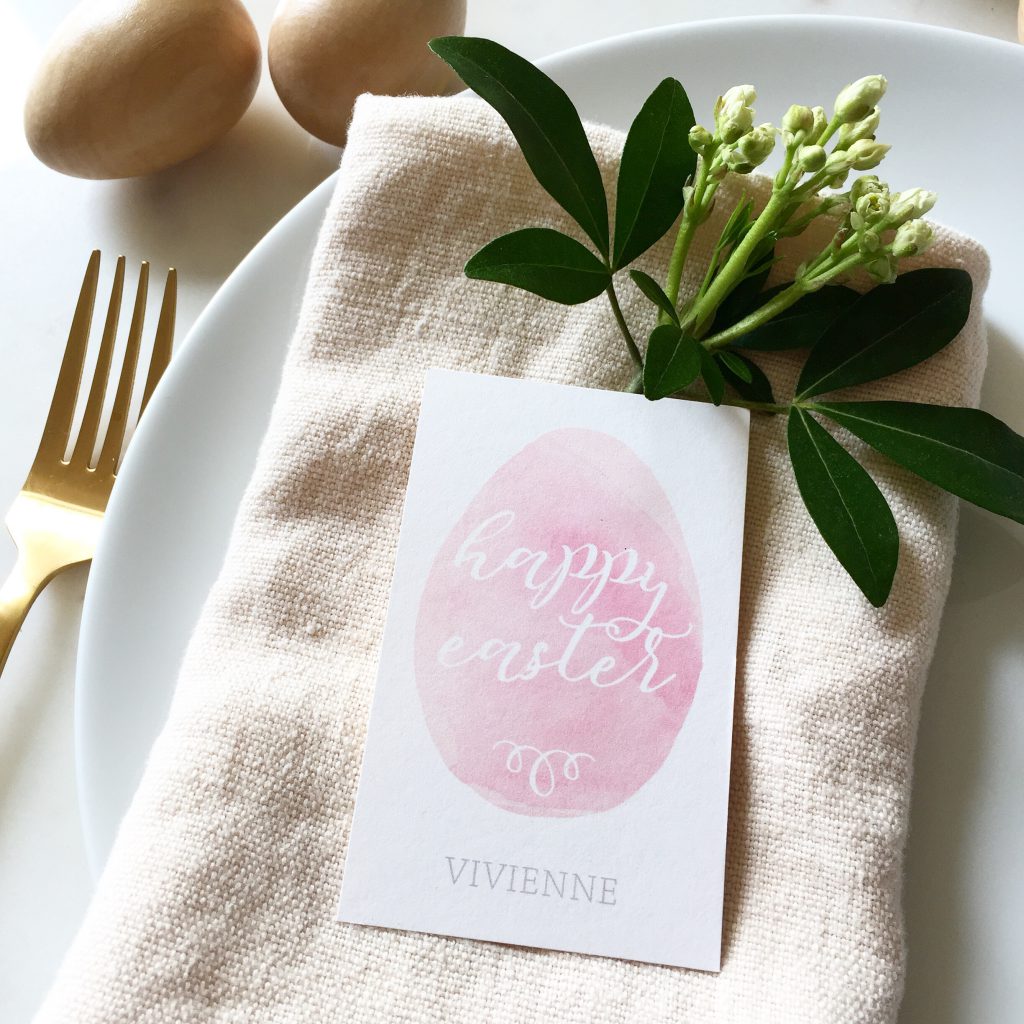
Oh man have I been lacking creativity and motivation lately. I don’t know what it is, but I’m hoping I get out of my slump soon. I’ve been meaning for over a month to post about my daughter’s unicorn birthday party details (check my Etsy shop for the super cute invitation). I’ll get to it soon I promise! But in the mean time, I’ve come up with another free printable for you all. Easter is just days away…really not sure how or when that happened…and I am hosting this year and I always think it’s fun to come up with a new name card design for the table.

I don’t know about you, but this watercolor trend isn’t getting old for me and I especially love it during the spring time. And how pretty are watercolored eggs?! Click here for the free download and just write in the names of your guests at the top…a gold sharpie perhaps?! Enjoy the season everyone! Xo, Jessica

Free Printable Recipe Card!

RecipeCard Diagonal

I haven’t been as regular with my posting the last few months. I don’t know if it’s this dreary NW winter we are having (I am soooo over the rain!!!) or if it’s because we haven’t been able to get in to a routine with the girl’s school schedule being all over the board since winter break, but my struggle is real! To beat this gloom and doom weather we are having…if you could see outside my office window right now…I thought I’d share a recipe card freebie. And who doesn’t love baking in this kind of weather anyway? I think that is what I will do after I finish this post! I digress 🙂

I created this recipe card to be clean, minimal and modern so the recipe is star. It’s perfect for those bridal showers coming up! Click here for the free printable PDF download and if you would like the editable version (no hand writing necessary!), you can purchase it on my Frella Designs Etsy Shop. I hope you enjoy using it!

Free Valentine Card Printable!

Valentine Card_MoonandBack_Digital IMG_7432

Well hello there! I haven’t been on here much last month, I’m getting my mojo back and wanted to share a free valentine card with you all. No need to stand awkwardly at the store reading cards amongst other desperate strangers trying to find that perfect card, only to put it back and then try to jockey for more space. You know what I’m talking about 😉

I know “to the moon and back” is a tried and true saying, but my girls and I say it to one another almost daily. And then we try and out do one another to see how far we can “love” one another. So far no one has beat “to infinity and back again infinity times”! Kind of silly, but I love it and will probably say it to them when they are my ripe ol’ age. Because I am their mom…and it’s my right at their mom…I don’t care if they get embarrassed or think I am off my rocker. Without further ado, click here to download your free card to print out. Happy Valentine’s Day to you and your loved ones!

XoXo, Jessica

Curried Cauliflower Soup with Cashew Cream

IMG_7312

I recently discovered cashew cream (instead of using regular cream) from the blogger Pinch of Yum over on Instagram. I made the cashew cream the other day to use in her creamy tomato sauce pasta and it was so good (you should try it!) and better yet, it was soooo easy! But I had about half of the cashew cream left over and I didn’t want the creamy cashew goodness to go to waste so I thought it would work well in a cauliflower soup I had been wanting to make. And what goes better with cashews than curry? They are made for each other, and quite frankly, cauliflower flawlessly cuddles up with those two perfectly as well.

I was thinking this soup is either going to be a complete miss or a complete hit. And from my perspective, it was a complete hit (otherwise I wouldn’t be sharing my fail, right?!). Even my picky 5 year old said she liked it (wha, wha??!!). My 8 year wouldn’t try it, but she is usually my food adventurer so I’ll give her a pass this time and say she was just in a stinker of a mood. Which she was. So here is the recipe to give it a try and I am curious what you think.

Curried Cauliflower Soup with Cashew Cream

Ingredients

  • 1 head cauliflower, cut into florets
  • 2 tablespoons vegetable oil
  • 1 teaspoon salt
  • 1 tablespoon butter, cut into small pieces
  • 1 large yellow onion, diced
  • 4 cloves crushed garlic
  • 1 teaspoon curry powder
  • 1 teaspoon ground turmeric
  • 1 quart vegetable stock
  • 2 cups cashews
  • 2 1/2 cup water
  • salt and ground black pepper to taste
  • 2 tablespoons chopped fresh parsley or cilantro

Directions

  1. Heat Olive oil in a large pot over medium  heat. Saute onions in oil until soft, about 5 minutes. Stir garlic into the onion and continue to cook until fragrant, about 1-2 minutes more; season with curry powder and ground turmeric. Stir until combined.
  2. Stir chopped cauliflower with the onion mixture. Pour stock and 2 cups water over the cauliflower mixture. Place a cover on the saucepan and bring the stock to a boil. Immediately remove the cover, reduce heat to low, and cook at a simmer until the liquid reduces slightly, about 10 minutes.
  3. Puree mixture in the saucepan with an immersion blender until mostly smooth.
  4. In a blender, blend the cashews with the remaining 1/2 cup water. Blend until very smooth. Reserve half of your “cashew cream” in the fridge for another recipe, and add the other half to the soup pot. Stir until creamy.
  5. Stir cashew cream into the soup; season with salt and pepper. Ladle soup into bowls and garnish with parsley/cilantro and/or croutons if you have them.

Christmas Name Cards: Free Download!

img_7152

It’s almost Christmas! Yikes! I feel like I am scrambling to get things done, but at the same time…nothing is getting accomplished!! The girls have this whole week before Christmas off of school and I have been spoiled with them both in full time school and having those hours to check things off my to-do list. Plus, they seem extra cranky and messy lately (sigh). Mom life am I right?!

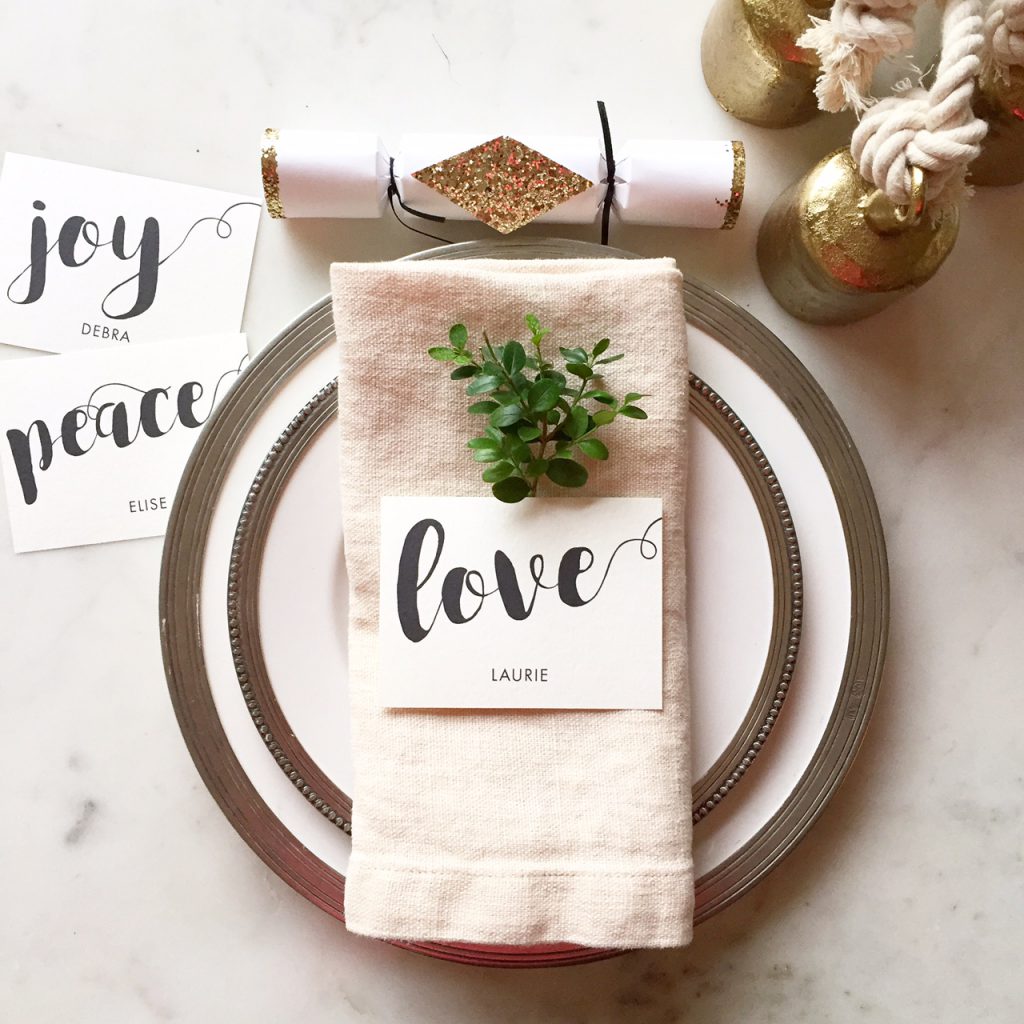
But I realized that with Christmas just a few days away, I better start thinking of my table setting! Given how this week is going I thought I should keep things super simple and not try and reinvent the wheel. So I whipped these place cards up to go with the glitter Christmas party crackers I found from Meri Meri (click here for free download. And there is an editable field to type your guests names!). Black, white and gold this year! And maybe a bit of greenery thrown in there 🙂 I also felt it appropriate to have the “peace, love and joy” theme this year. 2016 seemed to be more crazy and emotional in the world than usual and we could all use some Christmas joy and magic to make the world a little brighter for 2017. I hope you all have a wonderful Christmas and holiday season. Much love to you all!

Random Pretty Things for the Holidays

I posted this picture yesterday on Instagram and promised the sources and/or links. These are just a few things I have around the house that make me smile when I look at them. Some of them are no longer available, but they can be used as inspiration or be on the hunt for something similar.

img_7105

  1. Necklace: from Madewell. Here is a similar one. You can’t go wrong with any of their jewelry!
  2. Chinese Scissors: I found these beauties as an early Christmas gift to myself 🙂 from Amazon
  3. Felt Mistletoe: Mine is from West Elm years ago, but click here is a similar one
  4. Polar Bear: Again this bear is from West Elm a while ago, but Restoration Hardware has some really cute ones this year.
  5. Trees: These are from Target Dollar Spot
  6. Yarn: Again from the Target Dollar Spot. I swing through that section every time I go to Target. You can always find some sort of gem in there!
  7. Brass Pomegranate…Target again folks. There are so many perfect little decorative accessories every season. I heart that store waaaaay too much!
  8. Gold Mini Picture Frame: Paper Source. Who’d a thunk, but they have some really cute accessories for the home and office. And some great gifts!

Lazy Vegetable Pesto Soup

img_7073

This is by far my favorite vegetable soup. I usually think they can be bland and boring. So one day I had a little bit of pesto left over and decided to at it in…can’t hurt I thought. And wow, just that little bit elevated the flavor to a new level!

Here’s my other secret for us lazy…err I prefer to use the term “busy”…people. Pick up some pre chopped Mirepoix (onion, carrots and celery). It seriously cuts down on chopping time and is inexpensive. Trader Joe’s carries it in a 14.5 ounce container and all the work is done for you. It’s the perfect amount for a pot of soup – I’m telling you folks, I use this almost every time for soups now. Also to cut down on time, Trader Joe’s fresh Genova Pesto tastes almost like home made. This soup comes together in no time when you only have to chop a few things! And it’s so comforting on a chilly winter day.

Lazy Vegetable Pesto Alphabet Soup

Ingredients:

  • 2 tblsp olive oil
  • 14.5 oz pre chopped Mirepoix
  • 1-2 small chopped zucchini 1/4″ cubes
  • 2 32oz vegetable stock
  • 1-2 cups roughly chopped fresh spinach
  • 1/2 cup chopped parsley
  • 3.5 oz fresh basil pesto
  • 1 cup alphabet past or your favorite mini pasta
  • Salt and pepper to taste

Directions:

Heat oil in a large pot over medium heat. Add Mirepoix and chopped zucchini to saute for 5-8 minutes until soft. Add stock and bring to a boil. Add spinach, parsley, pesto and pasta. Simmer for 15-20 minutes (until pasta is cooked). Salt and pepper to taste.

It’s as easy as that! In about 30 minutes start to finish you have a healthy, cozy and yummy meal 🙂


Land Rover Christmas Gift Tags…Did I say Free?!

landrover-xmas-tags_dg img_7058

Happy Monday everyone. I hope your weekend was relaxing and fun filled. OUrs was all over the board. A snow day, sledding, a trip to the doctors (the little had an ear infection 🙁 ), decorating cookies, house chores, christmas parties, and some desperate bonding with our new bird who doesn’t seem to like me as much as I like her (sniff sniff).

As promised from last week, I pulled together another gift tag for the more rugged folk in your lives. And it’s free! Just click here, print and trim. Easy peasy. Just two more weeks till Christmas…gotta get crackin’. Hope your week is festive!

Xo, Jessica

Hazelnut Chocolate Shortbread Christmas Cookies

img_7031

I’m failing my early New Year’s resolution already 🙁 I vowed I would only make one Christmas cookie this year since they don’t get eaten like they used to (this low sugar thing, blah, blah, blah). I let me girls pick what kind they wanted and of course they wanted cut-out sugar cookies with all the bells and whistles of frosting and sprinkles (insert heavy sigh here). I resolved myself to say that was ok. But I should know myself better after 39 years of this. Lying in bed the other night, I was thinking about my Nana’s shortbread that I loved as a kid and haven’t made in several years. Then I thought how much I love Nutella…errrr… chocolate hazelnut butter. Hello! A marriage made in heaven I say.

So I made my own Nutella from my Blendtec cookbook. Super easy by the way. Then I set about making the shortbread yesterday. As you can see by my little post-it note, that’s all I have of my Nana’s recipe. I have no idea where it came from, but my dad grew up with them, my mom made them for my brother and I as kids and now I make them. It’s a super simple recipe with few ingredients. I think it’s the simplicity that I like. Or maybe it’s the memories I hold on to of my Nana who passed when I was young. Or maybe it’s the brown sugar, buttery, flakiness of the cookies that I love. I’m guessing it’s the whole package 🙂

image

Without further ado here is the recipe for the chocolate nut butter and shortbread:

Chocolate Hazelnut butter: recipe from Blendtec

Ingredients:

  • 2   cups toasted hazelnuts
  • 1⁄2   cup coconut oil, melted
  • 1⁄2   cup cocoa powder
  • 1   tsp vanilla extract
  • 1   cup powdered sugar

Directions:

  1. Add coconut oil and hazelnuts to FourSide or WildSide+ jar and secure lid (If making in Twister jar, decrease ingredients by half). Blend on a low speed for 15 seconds and then increase to a high speed for 35 seconds (until blended time reads 50 seconds).
  2. Stir mixture towards center of jar, then secure lid.
  3. Blend on a medium speed for 50 seconds. Stir, secure lid, and repeat this cycle two more times.
  4. Add cocoa powder, vanilla extract, and powdered sugar to jar and secure lid. Blend on a medium speed for 50 seconds.
  5. Store in an airtight container in the refrigerator for 4-6 weeks. Bring to room temperature before serving or spreading on shortbread cookies.

*Note: To toast hazelnuts, preheat oven to 350°F. Spread hazelnuts on shallow baking sheet and toast in oven until skins darken, approximately 8-10 minutes. To ensure even toasting, stir the hazelnuts after 4-5 minutes in oven, then finish toasting. Wrap the cooled hazelnuts in a clean kitchen towel and rub towel back and forth to remove most of the hazelnut skins.

Nana’s Shortbread Recipe:

Ingredients:

  • 1 pound cold unsalted butter, cubed
  • 6 tbsp brown sugar
  • 4 cups white flour
  • 1/2 tsp salt

Directions: Makes Approx. 30-40 individual cookies (15-20 sandwich cookies)

  1. Heat oven to 325°
  2. In a standing mixer, mix on medium low all ingredients until dough just comes together, but be careful not to over mix or over handle the dough!! Form dough into a disc and wrap in plastic wrap. Chill for 30 minutes.
  3. Roll out dough to approx. 3/8 inch thick. Cut circles using a 1.5″ circle cookie cutter. *I used a 2″ in the picture above, but personally they would be better smaller and would get more cookies!
  4. Bake on cookie sheet lined with parchment paper or silpat liner for 10-15 minutes depending on your oven. Keep an eye on them the last few minutes. The bottoms should be just lightly browned.
  5. Once cooled, spread one cookie with chocolate hazelnut butter and place another on top. Store in fridge or freezer. Enjoy!